• Free shipping
  • 5-year warranty
  • Fast delivery

How to soundproof walls and ceilings with built-in speakers – stop resonance and noise

Built-in speakers in walls or ceilings provide a stylish and discreet sound system, but can also create unexpected sound problems if the installation is not properly soundproofed.
When speakers are mounted directly into the structure, vibrations and sound are easily transmitted through walls, ceilings, and the building frame.
The result can be disturbing resonance, noise in adjacent rooms, or sound that propagates to neighbors
even though the volume may be perceived as moderate in the room where the speakers are used.

To achieve both good sound quality and sound comfort, a well-thought-out solution is required that combines sound insulation, vibration damping, and sound absorption.
It is not just a matter of stopping sound leakage to the outside, but also of controlling how the speaker interacts with the construction of the wall or ceiling.
Without the right materials, the building itself can start to act as a resonance box that amplifies unwanted frequencies.

In this guide, we go through the best ways to soundproof walls and ceilings with built-in speakers.
You will get concrete tips on how to reduce structure-borne noise, limit sound propagation to other rooms, and create a more controlled and comfortable sound environment
regardless of whether the installation is in a living room, home theater, office, or public environment.

Recommended products

Advantages of soundproofing walls and ceilings with built-in speakers

Reduced resonance in walls and ceilings
When speakers are built directly into the structure, walls and ceilings can begin to vibrate and act as resonance chambers.
Proper sound insulation reduces these vibrations, resulting in a cleaner and more controlled sound without unwanted amplification.

Better sound quality and clearer reproduction
By limiting the amount of sound that spreads throughout the building, the speaker can work more efficiently in its intended frequency range.
The result is clearer dialogue, better balance in the music, and a more accurate sound image.

Less disturbance in adjacent rooms
Built-in speakers can otherwise spread sound to bedrooms, offices, or neighboring apartments via the frame and joists.
With the right sound insulation, the sound stays in the room where it belongs, increasing both comfort and privacy.

Reduced structure-borne noise and vibrations
Low-frequency sounds and bass can travel long distances through the building's structure.
By dampening vibrations at fixings and in material layers, structure-borne noise that would otherwise be perceived as thumping or humming is reduced.

Increased living comfort and less stress
When resonance and noise disappear, the room feels calmer and more comfortable.
The sound feels softer and less intrusive, making it easier to relax, work, or enjoy music and movies.

Professional results with discreet installation
The right sound insulation allows built-in speakers to deliver high sound quality without compromising the function of the room or disturbing the surroundings.
This gives a more thoughtful and professional end result.

Future-proof solution for renovations and new builds
By soundproofing during installation, you avoid costly adjustments later on.
This creates a sustainable solution that works regardless of whether the sound system is upgraded or used more intensively in the future.

Selected articles on "The difference between different concepts"

The difference between sound insulation and sound absorption?

Here we explain as simply as possible the difference between sound insulation and sound absorption.

What measurement methods are there for sound?

There are several methods for measuring sound, and the choice of method depends on which aspect of the sound you want to evaluate.

Step-by-step: How to soundproof a ceiling with built-in speakers

Built-in ceiling speakers provide a discreet and stylish sound system, but without proper sound insulation, the ceiling can quickly start to act as a resonance surface.
Sound and vibrations are then transmitted to the joists, upper floor, or adjacent rooms.

To control sound and avoid disturbances, the ceiling needs to be built up layer by layer with the right function at each stage.

Step 1: Identify how sound spreads in the ceiling

Start by listening when the speakers are playing.
If you experience a dull hum, vibrations, or sound that is clearly audible above the room, this is a sign that the sound is spreading through the structure.

Bass and low-frequency tones often spread as structure-borne sound via the floor joists.
Midrange and treble can leak as airborne sound through the ceiling.
A "tinny" sound indicates resonance in the ceiling material.

This analysis determines which layers are needed in the next step.

Step 2: Vibration damping around the speaker mount

The first and most important step is to reduce vibrations directly at the source. When the speaker is tightly connected to the ceiling, the vibrations are transmitted directly into the structure.

– Use SilentDirect Polaric as the first layer against the structure to reduce vibration transfer.
– Complement with SilentDirect Neo as a decoupling layer between the speaker mount and the ceiling frame.
– Seal joints and transitions carefully with SilentDirect Seal to prevent sound leakage.

This step limits how much energy is transferred into the floor structure.

Step 3: Build a sound barrier into the ceiling structure

To stop airborne sound and reduce sound leakage to the room above, mass needs to be added to the ceiling.

– Install SilentDirect MLV above the ceiling or in a suspended structure.
– Ensure that the barrier covers the entire area around the speaker, not just specific points.
Seal joints and transitions carefully with SilentDirect Seal to prevent sound leakage.

MLV acts as a heavy barrier layer that significantly reduces sound transmission.

Step 4: Absorb sound behind the barrier

When sound is stopped by a barrier, there is a risk that it will instead bounce around in the ceiling cavity. Therefore, absorption is a crucial complement.

Place SilentDirect Egg above MLV where there is space to capture sound energy.
If space is limited, SilentDirect Neo works as a thinner absorbing alternative.

This step reduces resonance and prevents sound from building up in the structure.

Step 5: Seal penetrations and speaker openings

Small openings around speakers, cables, and fixtures can let a lot of sound through.

Use SilentDirect Seal around the speaker recess and cable penetrations.
Ensure that there are no air gaps between the speaker, ceiling panel, and structure.

A tight installation is crucial for the sound barrier to work properly.

Step 6: Soundproof the room for better overall results

Even if the sound insulation in the ceiling is correct, the room may still feel harsh and echoey. Reflected sound affects both sound quality and perceived volume.

Install SilentDirect PES Ceiling around the speakers or over the listening area.
For a more discreet and design-oriented look, SilentDirect PES Ceiling Fabric is an excellent alternative.

This improves the sound image and makes the sound feel calmer and more controlled.

Step 7: Test, adjust, and fine-tune

Once the installation is complete, play music or a movie and listen both in the room and in adjacent spaces.

– Have the vibrations decreased?
– Is the sound less audible in the room above?
– Does the sound seem clearer and more focused?

If necessary, small adjustments, such as extra sealing or local absorption, are often enough to achieve an optimal end result.

By working step by step with vibration damping, sound barriers, absorption, and sealing, you can create a ceiling where built-in speakers deliver high sound quality
without spreading noise or resonance further into the building.

Selected articles on "Soundproofing a ceiling"

What is the best way to soundproof a ceiling?

Soundproofing and soundproofing a ceiling means reducing the transmission of sound from one side of the ceiling to the other.

How to soundproof a room – A complete guide

Here we go through step by step how to soundproof your room effectively using the right method and materials.

Step-by-step: How to soundproof a wall with built-in speakers

Built-in wall-mounted speakers can provide a very stylish and integrated sound solution, but they place high demands on sound insulation.
Without the right construction, the wall risks acting as a resonance chamber where vibrations and sound are transmitted to adjacent rooms or neighbors.
To achieve a controlled and professional result, the wall needs to be soundproofed in stages, with each layer fulfilling a specific function.

Step 1: Analyze how sound spreads through the wall

Start by playing sound through the speakers and listen to how the wall reacts. Unwanted effects can manifest themselves in different ways.

A dull hum or vibrations indicate structure-borne sound in the framework or board material.
Clear sound in adjacent rooms indicates airborne sound through the wall.
A tinny or amplified sound reveals resonance in thin structures.

This analysis determines how extensive the sound insulation needs to be.

Step 2: Vibration damping of the speaker mounting

The speaker is the primary sound source and should always be decoupled from the wall as much as possible to reduce vibration transmission.

To prevent vibrations and resonance, SilentDirect Polaric can be used as the first layer against the wall structure.
Then use SilentDirect Neo as a soft decoupling layer between the speaker and the wall.
– For stronger vibrations or larger speakers, Dampio can be used under mounts and contact points.
– Seal joints and transitions carefully with SilentDirect Seal to avoid sound leakage.

This reduces the risk of the entire wall vibrating along with the speaker.

Step 3: Create a heavy sound barrier in the wall

Mass is required to stop airborne sound. A light wall allows sound to pass through even at low volumes.

Install SilentDirect MLV behind plasterboard or paneling in the wall.
– Make sure the barrier covers the entire area around the speaker, not just locally.
– All joints should overlap and be sealed with SilentDirect Seal for best effect.

MLV acts as an effective barrier that reduces sound transmission of voices, music, and effects.

Step 4: Absorb sound behind the barrier

When sound is stopped by a barrier, it can otherwise be reflected back into the structure and create resonance.

Place SilentDirect Egg behind the MLV where space is available.
If space is limited, use SilentDirect Neo as a thinner absorption option.

This step dampens reflections and provides a more stable and controlled sound environment in the wall.

Step 5: Seal speaker cutouts and penetrations

Small openings around speakers, cables, and boxes are common sources of sound leakage.

– Seal around the speaker recess with SilentDirect Seal.
– Ensure that there are no air gaps between the speaker, wallboard, and studs.

A tight installation is crucial for the sound barrier to function as intended.

Step 6: Soundproof the room for a better sound experience

Even if the sound insulation in the wall is correct, the room can feel harsh and reflective, which affects both sound quality and perceived volume.

– Install SilentDirect PES Wall on strategic wall surfaces to reduce reverberation.
For a more design-oriented look, SilentDirect PES Wall Fabric is an excellent alternative.

This provides a clearer sound image and makes the sound less intrusive.

Step 7: Test, adjust, and fine-tune

Play music or a movie and listen both in the room and in adjacent spaces.

– Has the resonance been reduced?
– Is the sound less audible through the wall?
– Does the sound seem cleaner and more focused?

Small adjustments, such as extra sealing or additional absorption, can often provide the final decisive improvement.

By combining vibration damping, sound barriers, absorption, and sealing, you can create a wall solution where built-in speakers deliver high sound quality
– without spreading noise or resonance to other rooms.

Selected articles on "Soundproofing a wall"

How do you soundproof a wall?

Soundproofing and sound dampening a wall means reducing the transmission of sound from one side of the wall to the other.

Effectively reduce structure-borne noise.

Structure-borne noise is sound that is transmitted through vibrations from structures such as walls, floors, and ceilings rather than through the air.

Products that are good for soundproofing walls and ceilings with built-in speakers

When soundproofing walls and ceilings with built-in speakers, you need materials that block sound, dampen vibrations, and absorb reflected sound.
Below, we list the most effective products for different types of measures – from stopping sound leakage to creating better sound comfort in the room.

SilentDirect MLV – sound barrier against airborne sound

SilentDirect MLV (Mass Loaded Vinyl) is a heavy and flexible sound barrier that is installed in walls or ceilings to block airborne sound.
The product works particularly well when you want to stop sound from passing through the structure to adjacent rooms or neighbors.

MLV is ideal for installation behind plasterboard, panels, or suspended ceilings where you need a lot of mass to dampen sound transmission.

SilentDirect Egg – sound absorber for resonance and reflection

SilentDirect Egg is a high-density sound absorber with a patterned surface that captures sound energy and reduces resonance in the cavities of walls or ceilings.
Egg is perfect for complementing a barrier and ensuring that sound does not bounce around behind the material.

Egg is particularly useful in constructions where sound absorption is needed in combination with a heavy barrier.

SilentDirect Neo – vibration damping and flexible absorber

SilentDirect Neo is a smooth, vibration-damping mat made of NBR rubber that acts as both an absorber and a damper of structure-borne sound.
Neo is a good alternative where space is limited or where you need a thinner absorbent layer, for example above MLV or around fixings.

Neo is often used where a combination of damping and absorption is needed in a thin layer.

SilentDirect Polaric – damping of structure-borne sound and vibrations

SilentDirect Polaric is a heavy damping mat that effectively reduces structure-borne noise, especially in ceilings and walls where vibrations are transmitted through the building's structure.
Polaric works well as a first layer against structures that would otherwise begin to resonate, for example around fixings and panels.

Polaric is also suitable for stabilizing larger areas where resonance is a problem.

SilentDirect Dampio – point vibration damping

SilentDirect Dampio is a vibration plate used under fastenings and contact points where vibrations are transmitted.
For example, under speaker fastenings or screws and bolts that can otherwise create noise.

Dampio is particularly useful when you want to isolate point vibrations without affecting the entire surface.

SilentDirect Seal – elastic sealing strip

SilentDirect Seal is a flexible sealing strip used to seal gaps, joints, and transitions where sound can leak out.
Sound always takes the easiest route, so by sealing around recesses, channels, and penetrations, you prevent sound from passing through gaps.

SilentDirect PES / PES Fabric – acoustic absorbers for rooms

SilentDirect PES and SilentDirect PES Fabric are sound absorbers for walls and ceilings that reduce reverberation in the room.
PES Fabric is a fabric-covered option that is also aesthetically pleasing.

These are used to create a more pleasant sound environment in the room, which makes the perceived sound softer even when built-in speakers are used at high volume.

By combining the right products in the right place, you get both controlled sound in the room and reduced sound propagation to the surrounding area
while maintaining or improving the sound quality from your built-in speakers.

Selected articles on "Soundproofing and sound-absorbing materials"

Which materials provide the best sound insulation?

Sound insulation depends on various factors, including the thickness of the material, its density, and its ability to block sound.

Which materials absorb sound best?

Various materials known for their ability to effectively absorb and dampen sound levels.

Did you know that...

Many people believe that built-in speakers automatically provide a "cleaner" sound because they are hidden in the wall or ceiling.
In reality, this can have the opposite effect if the construction is not soundproofed.

When the speaker is mounted directly into plaster or wood, the entire wall or ceiling is transformed into an uncontrolled resonance box.
Low-frequency sound, especially bass, is particularly problematic. It is often not heard as a distinct sound in adjacent rooms – but is felt as vibrations.
This is why neighbors sometimes complain even though you yourself think the volume is low. This is because the bass travels through the building's frame, not through the air.

A common mistake is to just add sound absorbers.
Absorption removes echoes in the room, but does little to stop sound from spreading.
To really reduce disturbances, you need mass and decoupling directly at the source
otherwise, the vibrations will continue to travel straight through walls and ceilings.

Small details also play a big role. A leaky cable feed-through behind a built-in speaker can leak more sound than the entire wall surface around it
– if the sound finds an opening, it will get through.

However, with the right construction, a wall with built-in speakers can be quieter than a normal wall.
By combining vibration damping, sound barriers, and absorption, you can improve the sound quality in the room and reduce sound propagation to almost imperceptible levels.

This is why professional studios never install speakers directly into the structure without sound insulation
and the same principles work just as well at home.

Selected articles on "Soundproofing walls and ceilings with built-in speakers"

Guide to choosing the right sound insulation for different frequencies

All sound consists of vibrations that travel through air and materials. But different frequencies behave differently. Find the solution here for all types of sound problems.

Soundproofing against neighbors – solutions for disturbing noise

Soundproofing your home against neighbors is a common need. With the right materials and methods, you can effectively soundproof unwanted noise from adjacent homes and finally enjoy peace and quiet in your own home.

How we perceive attenuation in decibels

How is decibel reduction perceived? Here we explain in simple terms how different levels of decibel reduction are perceived in practice and what the difference means for you and your sound environment.

How to soundproof a studio – complete guide

To effectively soundproof a studio, high-density materials are required. One of the best methods is to build according to the "room-within-a-room" principle, where the studio is separated from the rest of the building.

Density is key

Tightness is crucial to achieving effective sound insulation and avoiding sound leakage. Having gaps in the construction can create a weak link where sound can penetrate.

How to soundproof your home theater

By soundproofing your home theater, you create a focused, undisturbed, and professional sound environment where you get the most out of every scene, every note, and every line.

*Free shipping

Free shipping to agent

5-year warranty

5-year product warranty

Fast delivery

Usually ships the same day

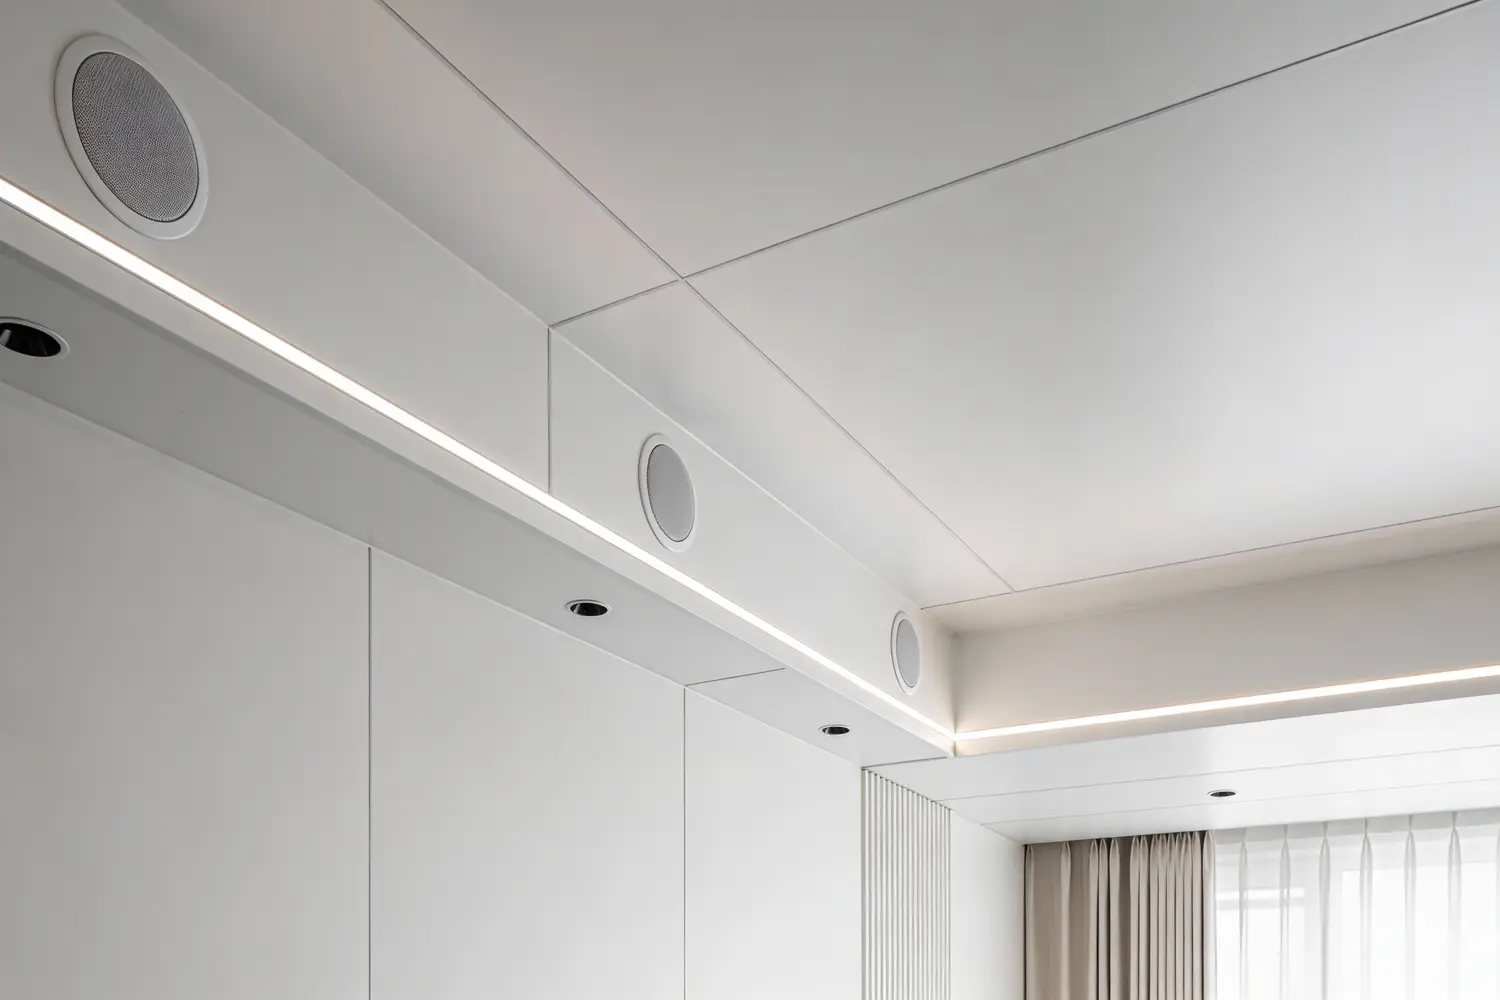
Soundproof walls or ceilings with built-in speakers – top tips

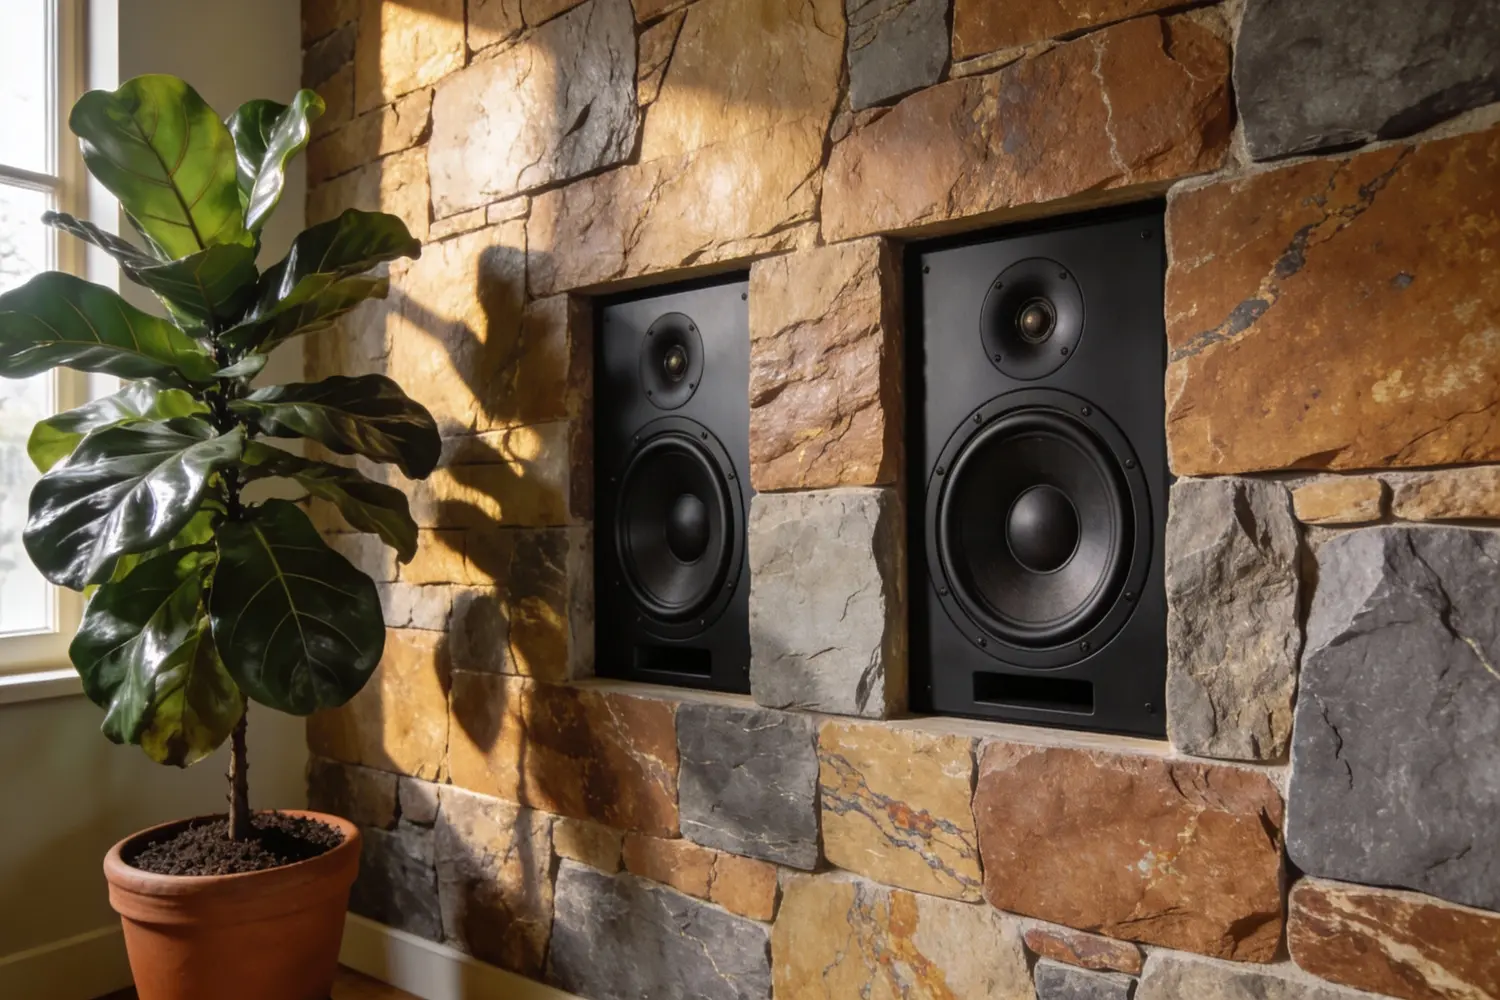
Built-in speakers in walls or ceilings are an elegant solution that frees up floor space and creates a stylish sound system. However, this type of installation often poses challenges in terms of soundproofing. Without the right measures, sound can easily spread to other rooms or floors, creating disturbances both in the room in question and in adjacent spaces. Here we go through how to effectively soundproof walls and ceilings with built-in speakers – without compromising on sound quality.

Why soundproofing is important for built-in speakers

When speakers are built into walls or ceilings, they become part of the structure. This means that both airborne sound and vibrations can travel directly through studs, plasterboard, and joists. The result is often that sound leaks out of the room, while the internal sound image is impaired by resonance and unwanted reverberation. Proper sound insulation not only improves comfort, but also sound quality.

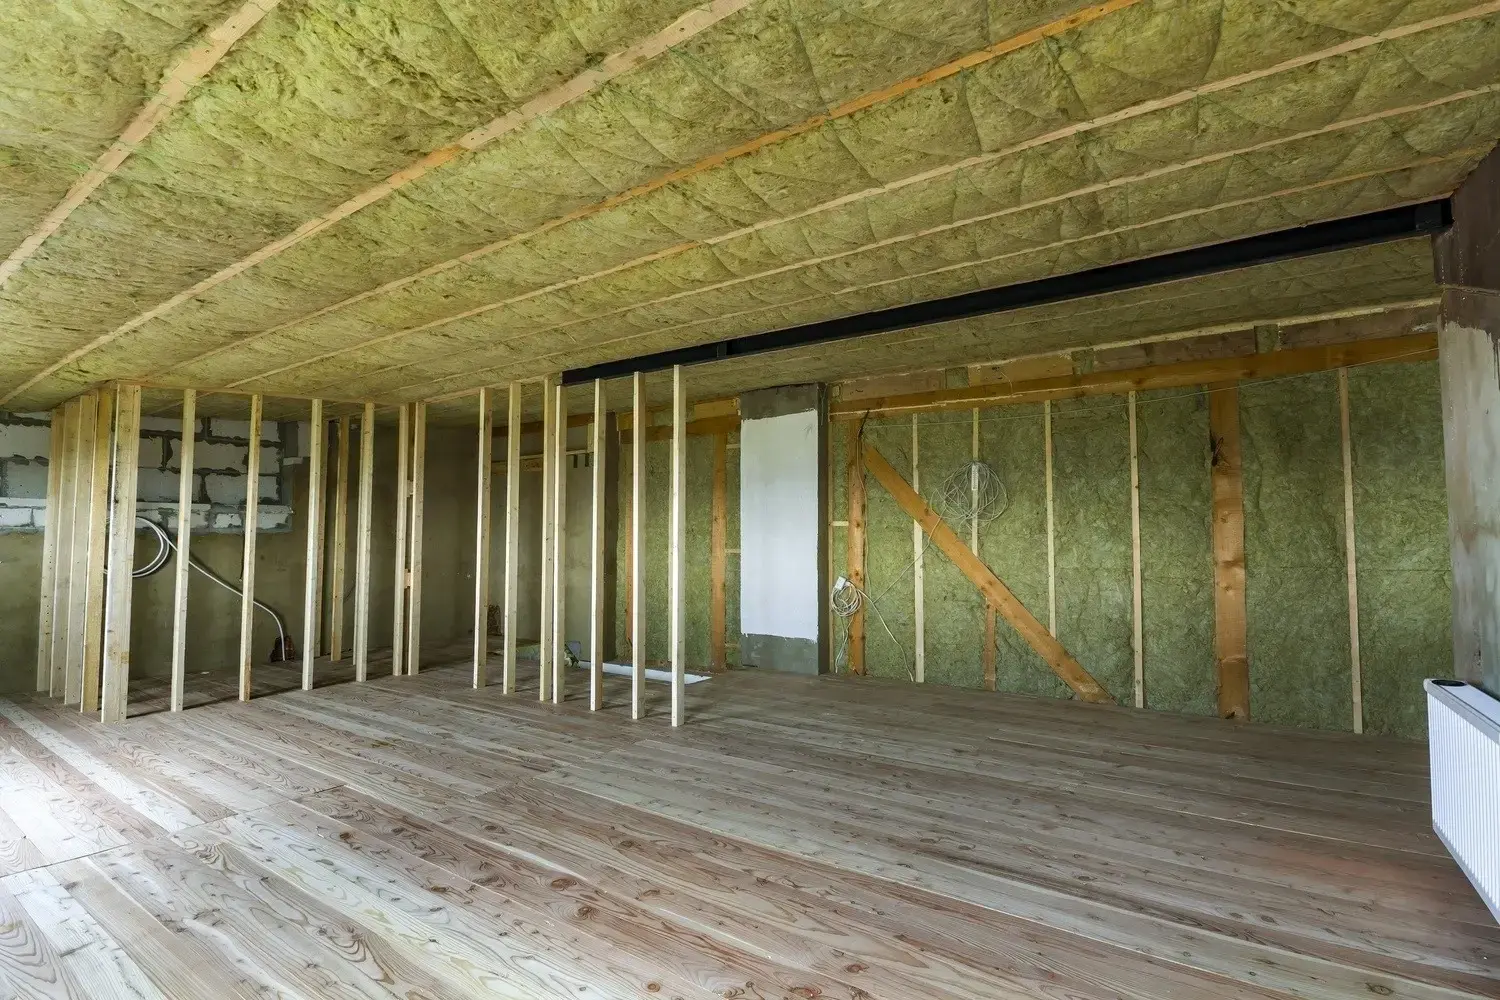
Build the right structure in walls and ceilings

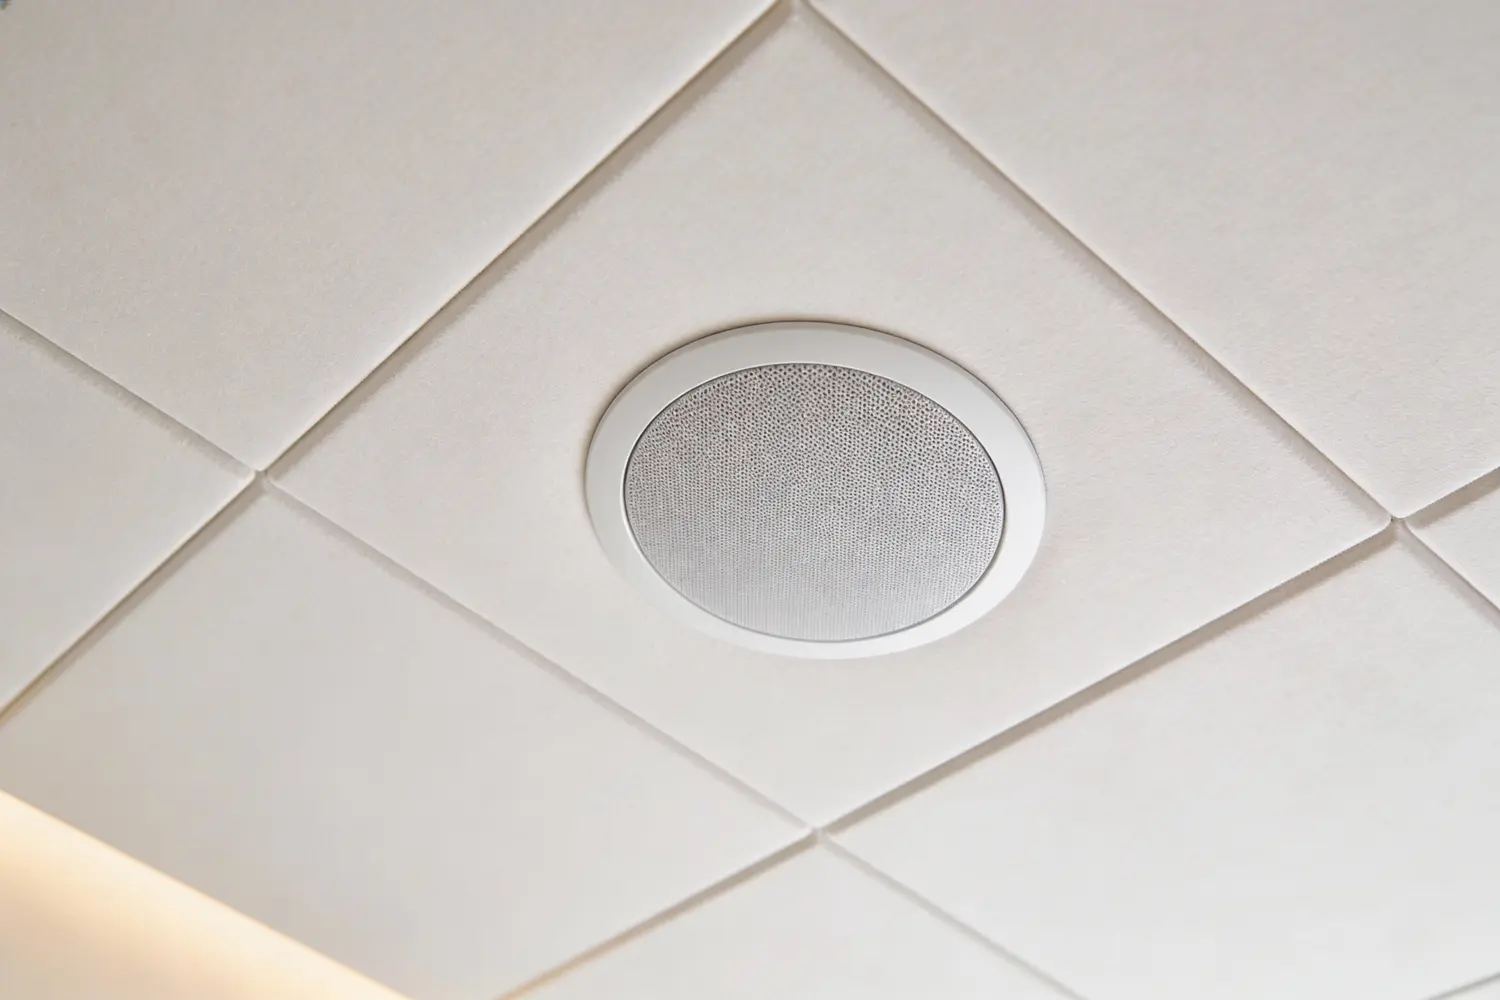
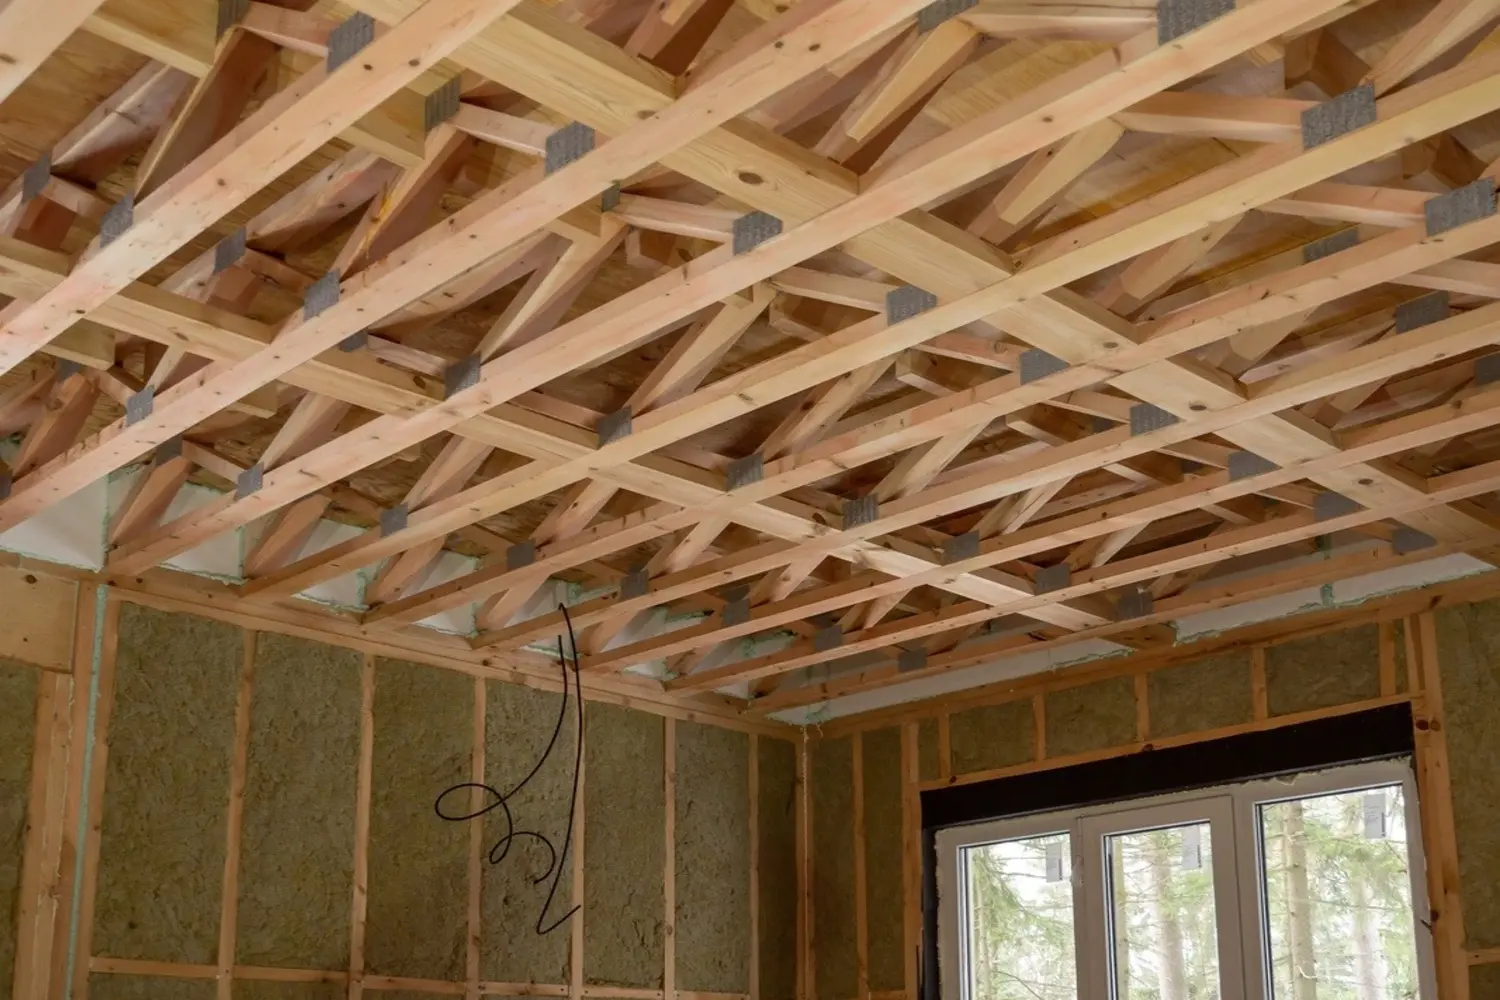
To reduce sound propagation, walls and ceilings should be constructed as decoupled structures. In walls, separate studs are used that are either mounted directly against the wall with SilentDirect Seal between the structure and the wall, or as a freestanding stud frame with an air gap. The same principle applies to ceilings, where a decoupled or vibration-damped structure is built using rails or sound-absorbing fasteners. SilentDirect Seal – made of NBR rubber – is installed along all contact surfaces to reduce structure-borne noise and vibrations.

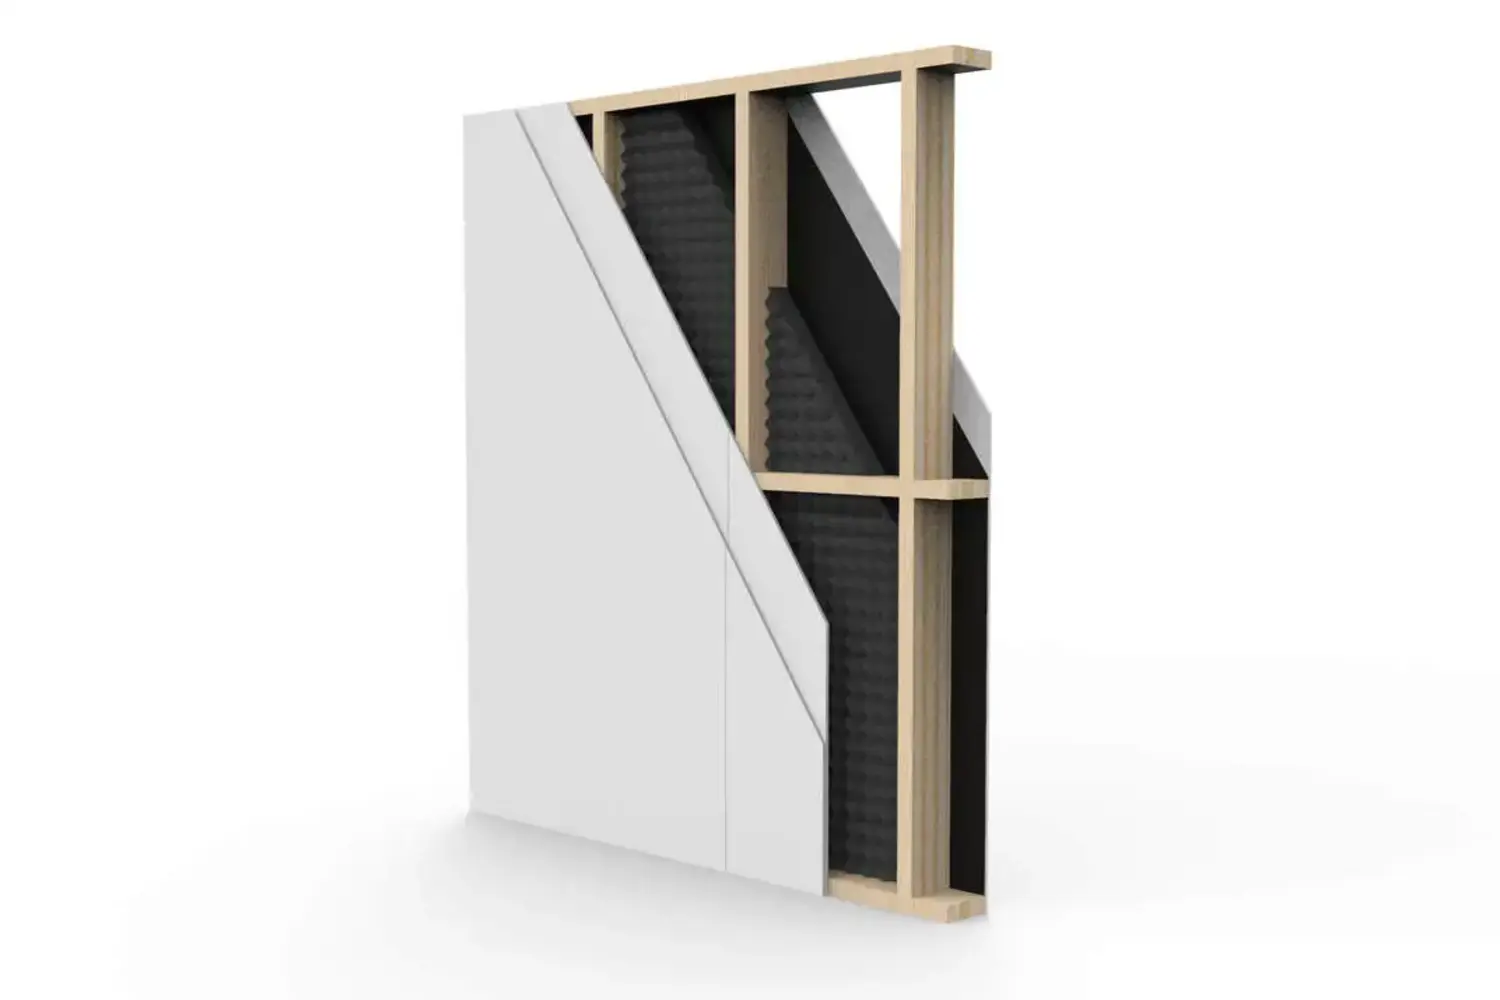
Block sound with SilentDirect MLV

Once the structure is complete, SilentDirect MLV (Mass Loaded Vinyl) is attached to the front of the studs, where the speakers will later be mounted. MLV is a very heavy rubber-based material that effectively blocks airborne sound. For even better results, double or triple layers are used depending on how much sound needs to be dampened. MLV provides high sound blocking value without taking up much space in the construction.

Use sound-absorbing material behind the speaker

Sound-absorbing material is used to reduce reflections inside the structure and prevent sound from spreading backwards into the wall or upwards into the floor structure. SilentDirect Egg – with its uneven surface – is the perfect choice behind the speaker. For a more compact installation, use SilentDirect Neo, which is a vibration-damping NBR rubber product with high density. These materials are mounted behind and around the speaker to reduce reverberation and sound dispersion.

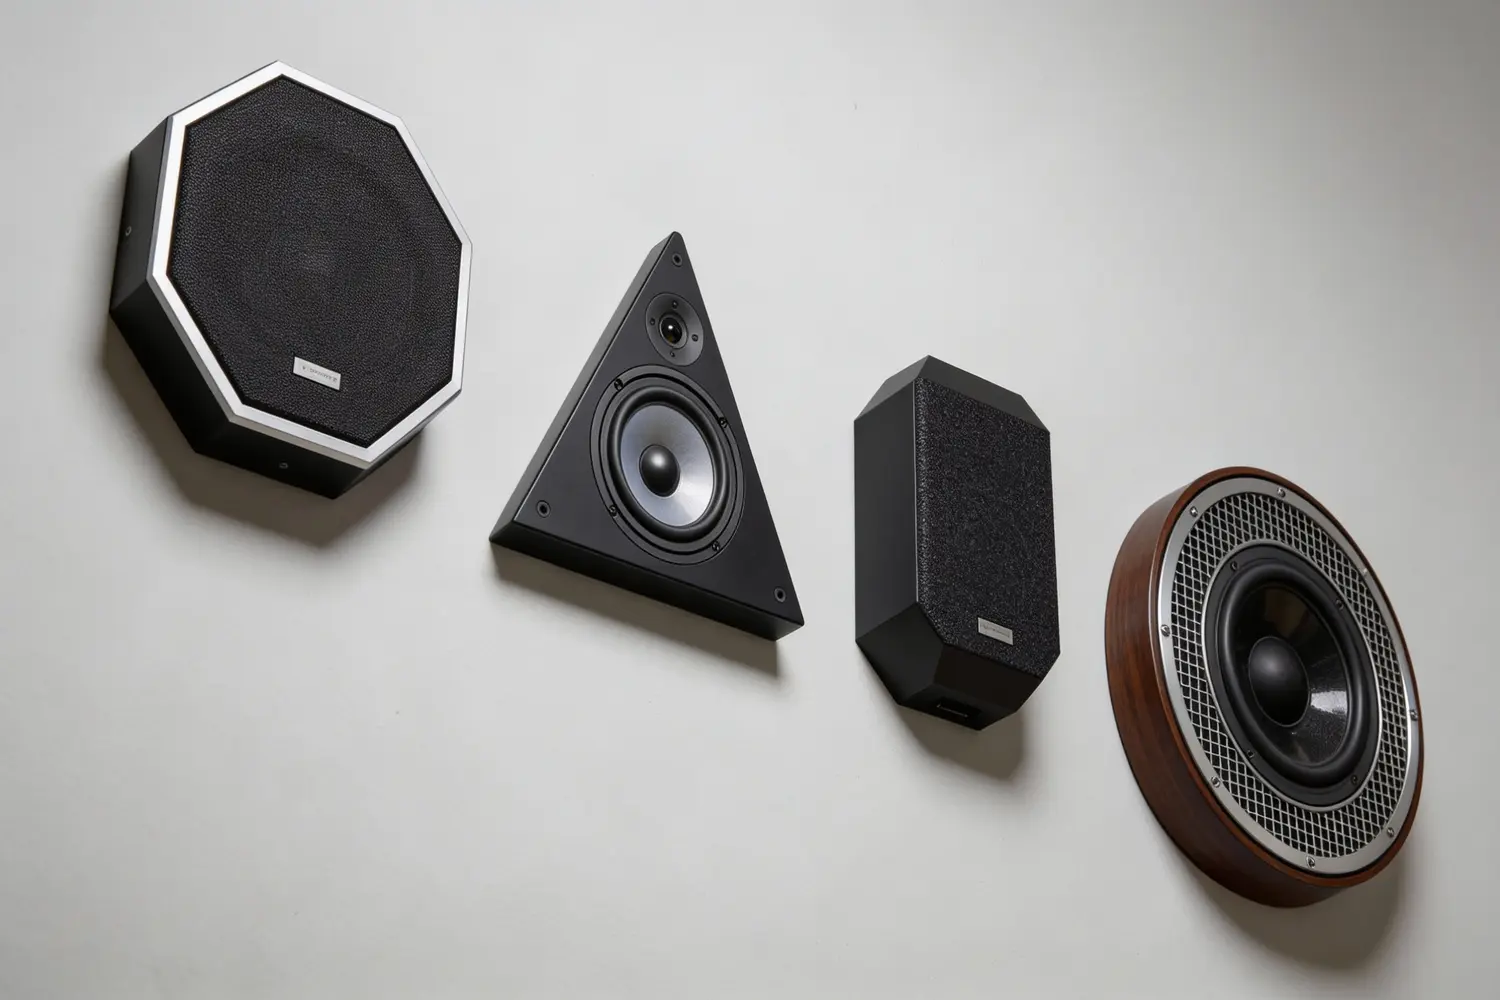
Build a soundproof box for the speaker

For best results, built-in speakers should be mounted in a closed box. It can be built in MDF and lined internally with SilentDirect Egg and SilentDirect Polaric. Seal all joints with SilentDirect Seal. The box should be tight, heavy, and absorbent – this improves the sound quality in the room while minimizing leakage to other parts of the house.

Complement with sound absorbers in the room

Even with good sound insulation, it is important to control the sound inside the room. Reflections from walls and ceilings can create an unbalanced sound image. By installing sound absorbers such as SilentDirect PES Wall or PES Ceiling on selected surfaces, you can create more controlled acoustics. This provides better precision, especially when listening to music or using a home theater system.

Result: balanced sound environment with isolated sound

By combining sound barriers such as SilentDirect MLV with vibration-damping solutions such as SilentDirect Neo, SilentDirect Polaric, and SilentDirect Seal, you can create a construction that effectively insulates the sound from built-in speakers. When this is complemented with a well-built back box and strategically placed absorbers in the room, you not only get a quieter environment – you also get a cleaner and more dynamic sound experience. Perfect for home theaters, music rooms, or offices where sound should stay where it belongs.