


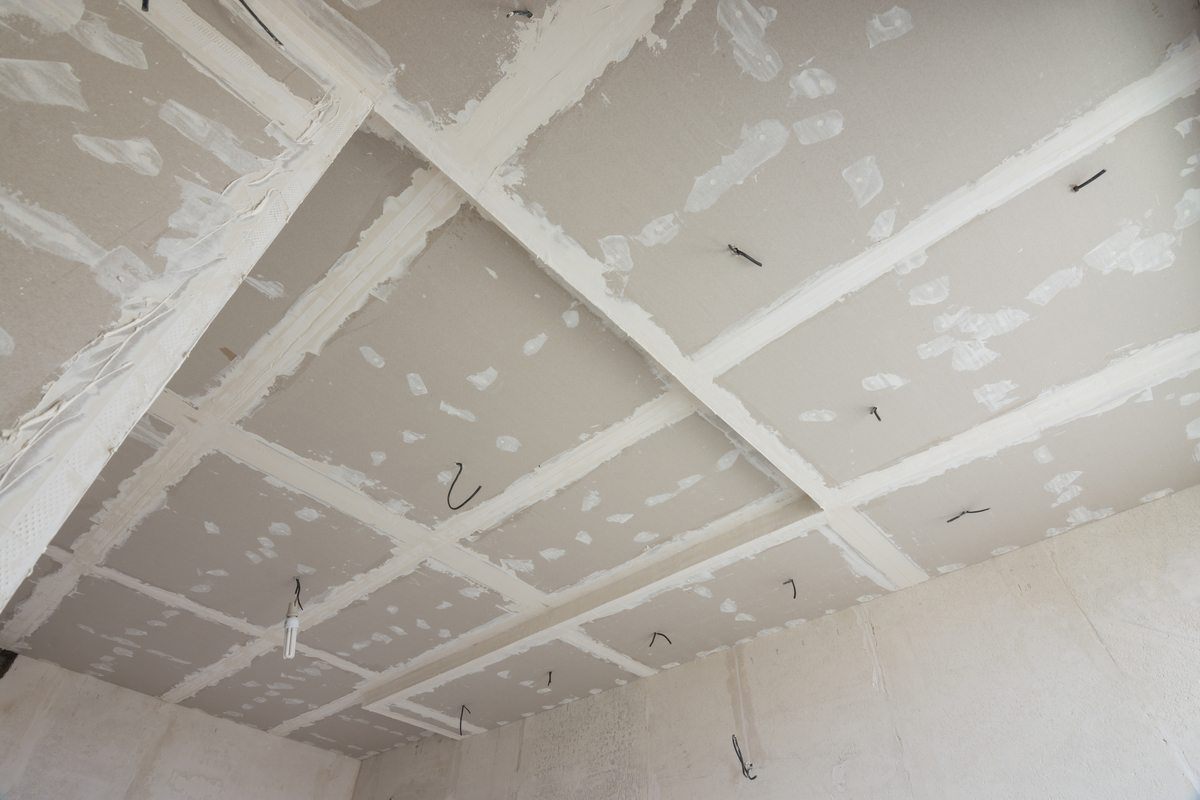

How do you soundproof a ceiling?
Soundproofing a ceiling is an important measure for creating a more comfortable indoor environment by reducing disturbing noise from upper floors or external noise sources. By using the right methods and materials, you can effectively reduce both airborne noise, such as conversations and music, and structure-borne noise from footsteps and furniture being moved. Whether you want to improve the working environment in the office, increase comfort in your home, or create optimal conditions for sound-sensitive environments, proper soundproofing is crucial.
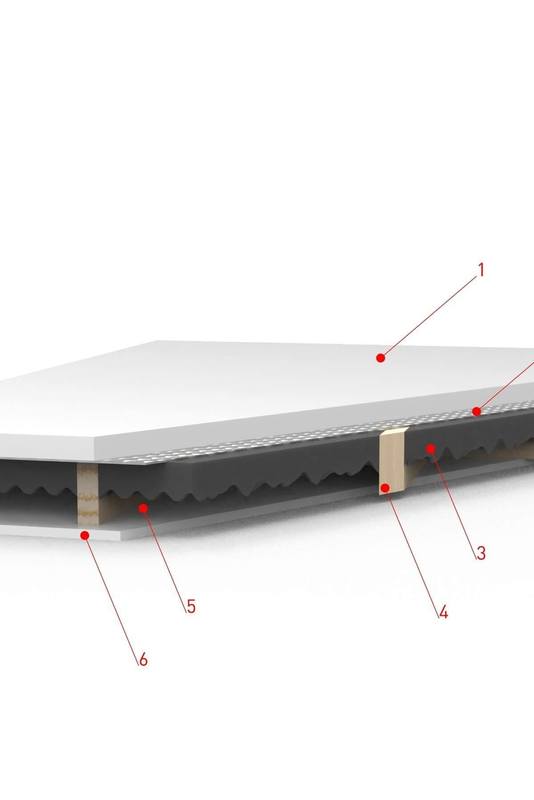
Soundproofing ceilings is not just about reducing noise – it can also improve the acoustics in the room and, in some cases, contribute to increased energy efficiency through extra insulation. To achieve the best results, a combination of sound-absorbing materials, decoupled structures, and sealing solutions that prevent sound leakage is often used. Below, we go through the main advantages of soundproofing a ceiling and how it can contribute to a quieter and more harmonious environment.
The benefits of soundproofing a ceiling
Reduces sound transmission and noise
Soundproofing the ceiling effectively reduces the transmission of sound between floors and from external noise sources. This is particularly important in homes and offices where noise from other floors can be disruptive and affect concentration and well-being.
Creates a quieter and more comfortable indoor environment
By reducing sound transmission, soundproofing contributes to a calmer environment, which is crucial for a good night's sleep at home or a productive working environment in the office. In open-plan offices or business premises, this can be a key factor in reducing distractions and stress.
Improves room acoustics
Sound insulation not only helps to block sound, but can also improve the acoustic properties of a room by reducing reverberation and echo. This is particularly relevant in spaces where sound quality is important, such as recording studios, home theater systems, or conference rooms.
Increased privacy and integrity
By reducing sound leakage, sound insulation creates a more secluded environment, which is particularly valuable in offices, meeting rooms, and homes where you want to avoid sound spreading between rooms. This can be crucial for businesses that require a high level of integrity, such as law offices or medical clinics.
Energy efficiency and temperature control
Some sound insulation systems also have thermal properties and act as an additional insulation barrier. By reducing heat loss in winter and keeping heat out in summer, sound insulation can contribute to lower energy costs and a more sustainable building.
Protects against external noise
For those who live or work in noisy environments, such as near traffic routes, airports, or industrial areas, effective soundproofing of the ceiling can help block out disturbing noises and create a quieter indoor environment.