• Free shipping
  • 5-year warranty
  • Fast delivery

Hang up a sound-absorbing board

Hanging a sound-absorbing panel on the wall is an effective way to improve the acoustics in a room by reducing reverberation and unwanted sound reflections. By choosing the right mounting method, you can ensure that the panel is stable and at the same time achieves maximum sound-absorbing effect. There are several methods for hanging a sound-absorbing panel, and the most suitable method depends on the size and weight of the panel and the construction of the wall.

One of the most common mounting methods is to use screws and plugs. This is particularly suitable if the wall is made of plaster, concrete, or brick and can support the weight of the panel. By attaching one or more screws to the wall and then hanging the panel using a mounting frame or metal brackets, you will achieve a stable installation that ensures the panel stays in place. If the panel is larger or heavier, you may need to use additional mounting points to distribute the weight evenly.

The placement of the panel also plays a major role in its sound-absorbing effect. For best results, it should be placed on a surface where sound reflections are greatest, such as opposite hard surfaces such as windows, glass walls, or concrete walls. If the room has a lot of reverberation, a combination of several sound-absorbing panels on different walls can provide an even better acoustic effect.

Regardless of which method you choose, it is important to follow the manufacturer's recommendations for installation and ensure that the panel is securely fastened. A correctly installed sound-absorbing panel can not only improve the sound environment, but also serve as an aesthetic interior design detail that contributes to the overall feel of the room.

How to install a sound-absorbing panel for optimal effect

Installing a sound-absorbing panel is a simple but effective way to improve the acoustics in a room. By placing the panel in the right position, you can reduce sound reflections and create a more pleasant sound environment. Whether you choose a single panel or a multi-part composition, it is important to plan the installation carefully to achieve the best possible results.

Preparations for installation
Before you begin installing your sound-absorbing panel, it is important to choose the right location on the wall. The placement of the panel has a significant impact on sound absorption and affects both the acoustics and aesthetics of the room. Identify where in the room the sound reflections are greatest and place the panel where it will have the maximum effect. Measure and mark the exact location where the panel will be mounted. Use a spirit level to ensure that the panel hangs straight. If you are installing a multi-part sound-absorbing panel, it is important to mark out all the parts before starting the installation.

Installing a single sound-absorbing panel
Once you have chosen the location, it is time to choose the right mounting method. This depends on both the weight of the panel and the wall material. For lighter sound-absorbing panels, you can use hook and eye fasteners or picture hooks. Hook and eye fasteners involve attaching hooks to the back of the panel and then screwing the eyes onto the wall according to your markings. Picture hooks are another convenient solution where you attach hooks directly to the wall and then hang the panel in place.

If you have chosen a sound-absorbing panel from SilentDirect, there are milled keyholes on the back, which makes installation even easier. All you need to do is choose the right screw and plug depending on the wall material.

Mounting a multi-part sound-absorbing board
If you have a multi-part board, it is important to carefully plan the layout before you start mounting it. Start by placing the parts on the floor to try out different arrangements and find the best composition. Measure and mark the position of each part on the wall before attaching anything permanently. This ensures that all parts hang in line and create a uniform whole. Each part is mounted using the same method as a single picture. Use hook and eye fasteners, picture hooks, or the pre-mounted solution with milled keyholes if you have a SilentDirect sound-absorbing panel.

Be sure to use a spirit level to keep all parts in line and create an aesthetically pleasing installation.

Choose the right plugs and screws to mount a sound-absorbing board

Installing a sound-absorbing panel requires the right type of fasteners to ensure that it is stable and can perform its sound-absorbing function optimally. The choice of screws and plugs depends on the material the wall is made of, and using the wrong fastening method can lead to unstable mounting and reduced durability. By choosing the right fasteners for the wall material, you can ensure long-term and secure installation. If you are unsure, you can always consult a professional or staff at a hardware store for specific recommendations.

Mounting on different wall materials

Plasterboard – Use the right screws and plugs for stability
Plasterboard is relatively fragile and requires special fastening solutions to support the weight of a sound-absorbing panel. Standard wood screws without plugs are rarely strong enough, especially if the panel is heavy. For best results, use plasterboard expansion plugs or Molly plugs, which distribute the weight evenly over a larger area and provide a stable fastening. For lighter boards, you can use screws with a wide thread suitable for plasterboard, but if the board is heavier, you should make sure to attach it to a stud behind the plasterboard for extra stability.

Concrete and masonry – Secure mounting with expanding plugs
Concrete or brick walls require a stronger fastening. Here, we recommend using nylon plugs or expanding plugs in combination with concrete screws. These plugs expand when the screw is tightened, providing a strong anchor in the wall. To install the screws correctly, you first need to drill holes with a hammer drill and adjust the size of the drill hole to the dimensions of the plug. Make sure to drill deep enough for the plug to sit firmly, but not so deep that the screw cannot grip.

Wooden wall – Direct mounting with wood screws
If your wall is made of solid wood, the easiest way to mount the picture is to use wood screws. However, to prevent the wood from splitting, it is a good idea to pre-drill holes before fastening the screws. Also, make sure to choose screws of the right length so that they fasten securely in the material without going through the wall. For heavier pictures, it may be a good idea to use screws with a larger thread to create better stability and strength.

Lightweight concrete – Special plugs for stronger fastening
Lightweight concrete is a porous material that requires special plugs to ensure stable mounting. Regular screws and plugs rarely work well in lightweight concrete because the material can crumble. For best results, use special plugs designed for lightweight concrete, such as expanding lightweight concrete plugs. These plugs attach better and prevent the screws from loosening over time.

Sheet metal or metal – Pre-drill for easy installation
When mounting on metal walls, you need to use self-tapping screws or screws with nuts and washers, depending on the construction. To make installation easier, you can pre-drill small holes in the metal so that the screws have a better grip. If you are attaching a sound-absorbing panel to a thin sheet metal wall, it is especially important to use screws with large threads or nuts to prevent the screw from loosening under load.

Ensure stable and durable mounting
Regardless of the type of wall you are mounting the board on, it is important to choose the right fastener. By adapting screws and plugs to the wall, you ensure a stable mounting that will last over time. If you are unsure which mounting method is best for your wall, we recommend that you consult with staff at a hardware store. They can give you specific advice based on the wall material and the weight of the board.

By following these guidelines and using the right tools, you will achieve a secure and professional installation that looks good and optimizes the sound-absorbing function of the board.

Other tips for installing a sound-absorbing board

Installing a sound-absorbing panel correctly is crucial for both function and aesthetics. By using the right tools and methods, you can ensure that the panel is securely mounted and can optimize its sound-absorbing effect. To achieve the best results, it is important to adapt the mounting method to the wall material and follow the recommendations for the specific panel you have chosen.

Choose the right mounting method for your wall
Before you begin installation, it is important to identify the type of wall material you have. This affects the choice of fastening material and determines how you should proceed to achieve a secure mounting. If you have a plasterboard wall, it is recommended to use drywall screws or wall plugs to achieve a stable attachment. Plasterboard walls are relatively fragile and cannot bear heavy loads without reinforcement, which makes the right fastening material crucial for the picture to sit properly. For concrete walls, stronger plugs and screws are needed that can fasten into the hard material. Here, you should use a hammer drill to drill the holes where the plugs will be placed. If you are mounting the picture on a wooden wall, you can often screw directly into the wall without using plugs. However, be sure to choose a screw of the correct length to ensure a stable attachment.

Follow the manufacturer's recommendations
Sound-absorbing panels may have different mounting solutions depending on the model and material. Some panels have pre-mounted brackets on the back, while others require separate screws and hooks. It is therefore always a good idea to read the manufacturer's instructions before starting the installation. If your board has milled keyholes on the back, you only need to adapt the screws and plugs to your wall. In these cases, it is important that the screws are positioned at the correct distance apart so that the board can be hung evenly and securely.

Use the right tools and measure carefully
To ensure that the picture is mounted straight and in the correct position, it is important to use a spirit level. This will help you avoid crooked hangings that can affect both aesthetics and functionality. Measure carefully where the picture should be placed and mark the screw holes with a pencil before drilling or screwing in the fasteners. Planning the placement in advance ensures that the picture is exactly where you want it and that it becomes a natural part of the room.

Ask for help when mounting larger paintings
If the painting is large or heavy, it may be a good idea to have an extra person help with the installation. This minimizes the risk of the painting being hung crookedly or damaged during installation. An extra pair of hands can also make it easier to hold the picture in place while screws or hooks are being installed. For larger pictures, it may also be advantageous to use several mounting points to distribute the weight evenly and prevent the picture from tipping or sitting unsteadily on the wall.

Did you know that..

The way you mount a sound-absorbing panel can affect how effective it is. Many people think that hanging it up like a normal picture is enough, but if it is too close to the wall, the sound will bounce off the back of it instead of being fully absorbed.

A small air gap behind the panel can significantly increase sound absorption! By mounting it 2–5 cm away from the wall, you create a zone where sound waves are captured more effectively, especially at lower frequencies.

Hanging the panel freely on a rail or in a suspension with soft fasteners can reduce resonance and vibrations. If the panel is fixed tightly to the wall, some of the sound can be transmitted through the wall instead of being dampened. By using rubber bushings or spring fasteners, you can optimize the sound-absorbing properties of the panel.

So next time you mount a sound-absorbing board, remember that it's not just about where it's placed, but how it's hung! Small details can make a big difference to the acoustics in the room.

*Free shipping

Free shipping to agent

5-year warranty

5-year product warranty

Fast delivery

Usually ships the same day

How to hang a sound-absorbing panel for optimal acoustics

Hanging a sound-absorbing panel is a simple and effective way to improve the acoustics in a room by reducing reverberation and minimizing disruptive sound reflections. By choosing the right mounting method and placing the panel strategically, you can maximize its sound-absorbing effect while also serving as a stylish interior design detail.

How does placement affect sound absorption?

For a sound-absorbing panel to be most effective, its placement is crucial. The panel should be mounted on a surface where sound reflections are greatest, for example:

- Opposite hard surfaces such as glass walls, concrete walls, or large windows where sound waves bounce back into the room.

- Near sound sources, such as desks in office environments or conversation areas in meeting rooms, to improve speech intelligibility.

- On walls where sound propagates, for example in open-plan offices or rooms with a lot of reverberation.

If the room has a lot of reverberation, a combination of several sound-absorbing panels on different walls can provide an even better sound environment. We also recommend combining them with traditional sound absorbers.

How to ensure correct installation

Regardless of which mounting method you choose, it is important that the panel is securely fastened to ensure both safety and acoustic effect.

- Use the right mounting accessories for the wall – plasterboard walls require expansion plugs, while concrete walls need stronger screws.

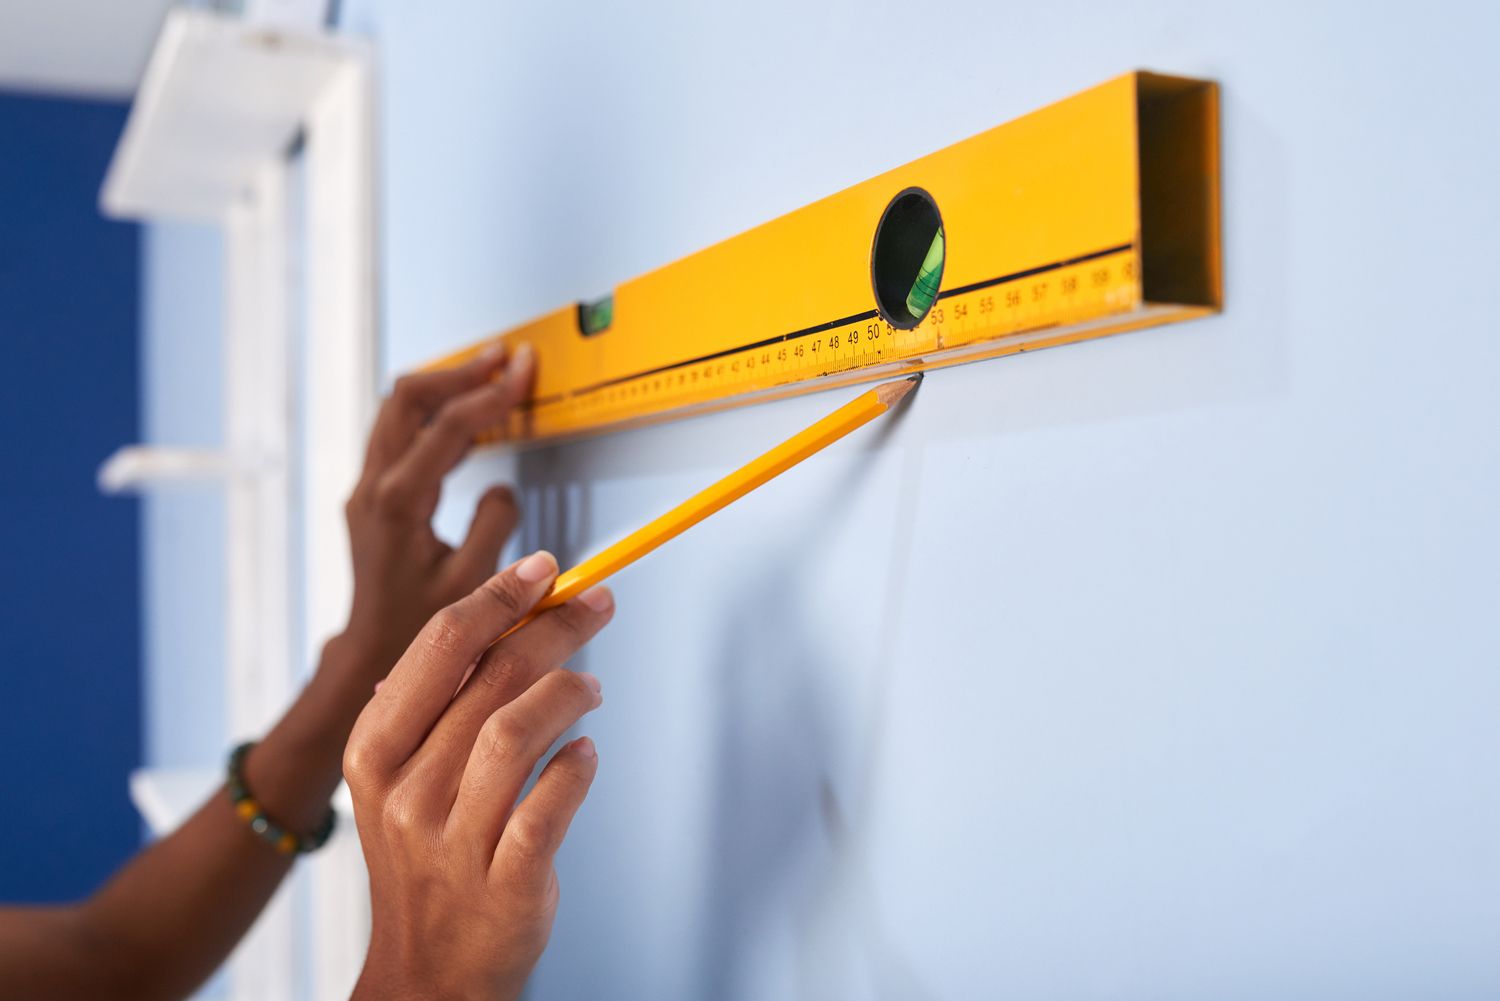
- Ensure that the panel is level by using a spirit level during installation.

- Avoid pressing the board too tightly against the wall, as a small air gap can improve sound absorption.

Why are sound-absorbing panels a good solution?

Sound-absorbing panels combine function and design and offer several advantages:

- Reduce reverberation and noise in offices, restaurants, meeting rooms, and home environments.

- Improve speech intelligibility, especially in environments with a lot of sound reflections.

- Contribute to a more harmonious sound environment by reducing disturbing background noise.

- Are an aesthetically pleasing interior design detail that can be adapted to the style of the room.

By choosing the right mounting method and placement, you can maximize the sound-absorbing effect and create a more pleasant sound environment in both private and public spaces. Explore our sound-absorbing panels and improve the acoustics in your room today!