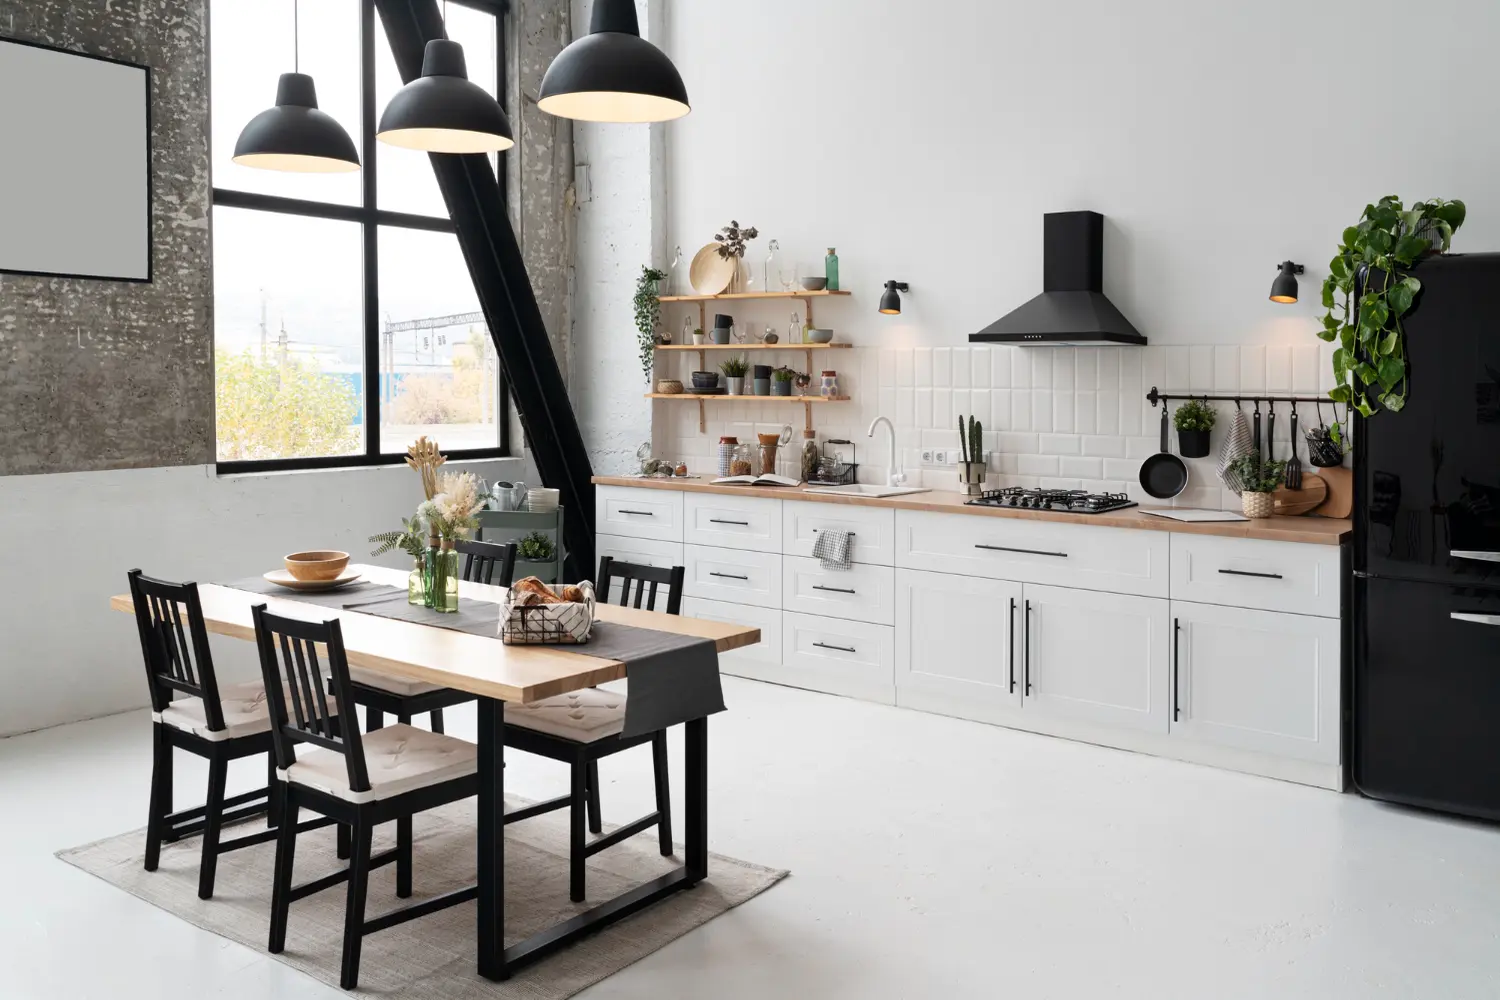
Step-by-step: How to soundproof your dishwasher – for a quieter kitchen
A dishwasher that hums, rattles, or vibrates can quickly become a source of disturbance in the kitchen—especially in open-plan homes where sound travels freely throughout the entire house.
Often, it is not the machine itself that is "too loud," but how the sound spreads through the floor, cabinet frames, and small gaps around the installation.
When the dishwasher is integrated into a cabinet, the entire kitchen interior can also act as a resonance box that amplifies the sound.
With the right method, you can significantly reduce noise without replacing your dishwasher.
Follow the steps below for effective and durable sound insulation that reduces vibrations, stops sound leakage, and eliminates resonance in cabinets and fronts.
Step 1: Find out what type of noise you have
Start by listening to the dishwasher when it is running, preferably both during the wash cycle and when it is pumping out water.
Different sounds require different measures, and if you identify the right type of sound right away, the work will be both easier and more accurate.
– Vibration damping:
Vibrations/humming noises that spread through the floor and frame. This is often the noise that is most noticeable in the rest of the home.
– Adjusting the location or vibration damping:
Rattling/clinking noises often come from loose panels, cutlery, or the machine being placed against the kitchen frame.
– Sound barrier and sound absorption:
Buzzing motor noise, airborne noise that leaks out of the machine or is amplified in the surrounding cabinet.
Once you know what dominates, it becomes easier to dampen correctly and get maximum effect per measure.
Step 2: Check that the machine is completely stable
A dishwasher that is even slightly uneven will amplify both vibrations and noise.
A slight imbalance causes the machine to start "working" against the floor and cabinet frame, which makes it much easier for sound to spread.
Therefore, you should always start with stability before installing materials.
– Check that the machine is level front to back and side to side.
– Ensure that the feet are in full contact with the floor and that the machine does not rock when lightly pressed.
– Make sure that no parts are under tension or touching the sides of the cabinet, as this creates a direct sound bridge.
Adjust the feet until the machine is completely stable. This simple step can sometimes halve the vibration noise and also makes the rest of the sound insulation work better.
Step 3: Dampen vibrations against the floor
The floor is the main sound path in a kitchen.
When the dishwasher vibrates, the structure-borne noise easily propagates through the floor, walls, and kitchen frame, which can make the noise seem "louder" than it actually is.
By placing a vibration-damping mat under the dishwasher, you slow down the vibrations directly at the source.
A Polaric damping mat as a base provides a stable foundation and reduces structure-borne noise.
If space allows, you can add a softer Neo sound insulation layer on top to absorb motor vibrations and create even better relaxation.
For point loads, Dampio vibration plates under the feet can also provide extra control and reduce hard contact points.
The result is that the noise does not "travel" in the floor and walls, and the kitchen feels quieter even when the machine is working at full capacity.
Step 4: Reduce resonance in the cabinet frame
Integrated dishwashers are often tightly fitted into a cabinet, which means that the cabinet sides can act as resonance chambers.
This can make normal motor noise sound more metallic, tinny, or amplified.
To counteract this, you need to both eliminate the resonance and reduce the amount of sound that can escape through the cabinet.
Install Egg - Sound Insulation as an absorbent material on the inside of the cabinet sides to capture sound that would otherwise bounce around and build up.
– If the frame is thin or light, a heavy MLV sound barrier can have a clear effect by stopping sound transmission.
– Use Seal sealing strips to ensure that all joints and contact points are sealed and do not leak sound, especially around edges and where the cabinet meets the machine.
This prevents sound leakage and ensures that the cabinet does not amplify the sound of the machine.
Many people find that this is where the dishwasher goes from sounding "loud" to sounding softer and more discreet.
Step 5: Seal gaps around the machine
Small gaps between the dishwasher and the cabinet can leak a lot of noise. Sound works like water—it always finds the smallest opening.
That's why sealing is a crucial step if you want the sound insulation to last.
Seal the sides against the cabinet sides without creating excessive pressure or tension.
Check the area around the front where sound often escapes.
– Seal any openings where hoses and cables enter and exit.
Use an elastic seal or soft joint compound that molds to the surface and blocks sound leakage without creating new vibration bridges.
Step 6: Check hoses and pipes so they don't hit the cabinet
Vibrations can also spread through drain and water hoses.
If hoses are touching the cabinet frame or wall, this often creates a knocking, ticking, or resonant sound—especially when the machine is pumping out water.
This is a common source of "mysterious" noises that many people mistake for a broken dishwasher.
– Make sure that hoses have some slack and are not stretched tight. Secure hoses with soft clamps so that they are held in place without creating hard contact points.
– Avoid placing them against hard surfaces where vibrations can be amplified. If you cannot adjust the location, try installing Polaric to counteract the transitions.
– Combine Polaric with Neo 7mm where space is limited, or with Egg as thick as possible where you have room for the best results.
This removes many small, annoying noises that would otherwise be amplified in the kitchen and makes the machine feel more "quiet and stable."
Step 7: Dampen the door and front if it vibrates
If you hear a buzzing, rattling, or "slightly vibrating" sound from the front, it may be because the door or cabinet front is vibrating against the cabinet frame.
Since the front is large and often thin, it can act as a sound amplifier if it is not completely stable.
Tighten the fittings and hinges so that nothing is loose.
Place a thin damping strip on the contact points where the front meets the frame.
– Ensure that the front is completely flat and cannot move during operation.
A stable door reduces both the noise level and wear on the fittings, which means that the installation will last longer.
Step 8: Test again and fine-tune
Run the dishwasher once the measures are in place.
Listen both in the kitchen and in adjacent rooms. Has the vibration noise been reduced? Has the rattling disappeared? Does the sound seem softer and less intrusive?
If any noise remains, add insulation locally where you still hear resonance or leakage.
Often, a small extra seal at a gap, a damper strip at a contact point, or more absorption in a cabinet segment is enough to eliminate the last remaining disturbance.
The most effective sound insulation is achieved through a combination of stable placement, vibration damping, resonance control in the cabinet frame, and sealing of sound leaks.
When you break the sound path at every link, you get a dishwasher that makes significantly less noise—and a kitchen that feels calmer, more exclusive, and more pleasant.