



• Free shipping
  • 5-year warranty
  • Fast delivery

Build Your Own Sound-Absorbing Panel

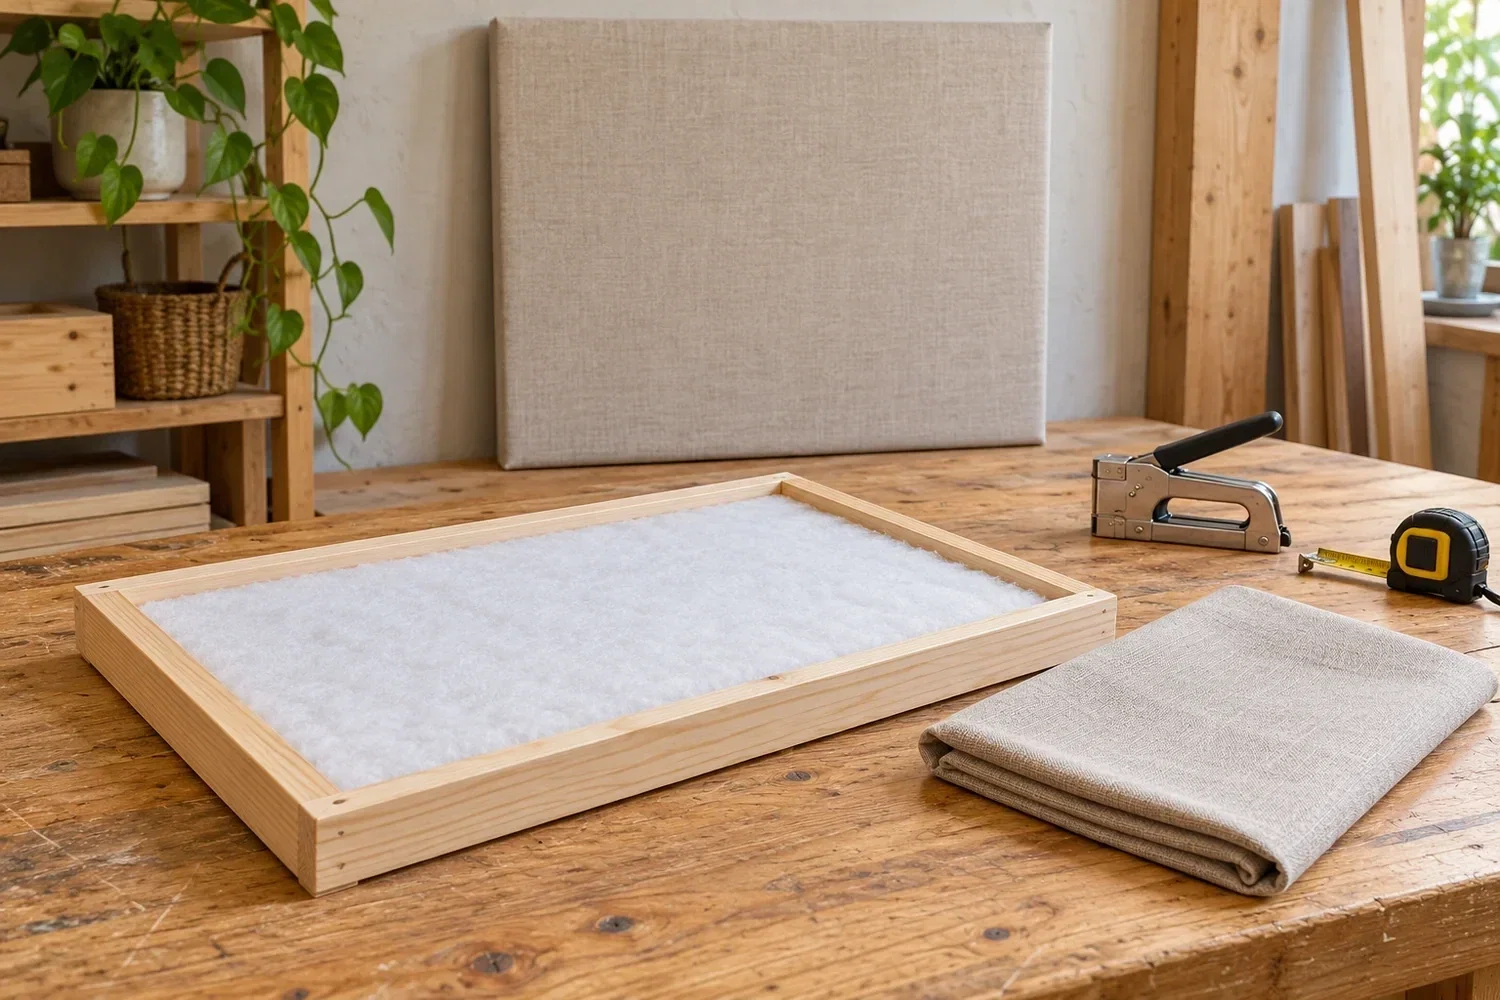
A custom sound-absorbing panel can give the room a personal touch while reducing distracting sound reflections. The effect comes from an absorbent core that sound can reach through the front. The frame holds the structure together, and the fabric gives it a finished look. Plan the core, covering and mounting together. A decorative panel without a functional absorbent layer behind it is not the same as a well-designed acoustic panel.

Start by identifying the problem in the room. Reverberation in a furnished living room or home office requires different solutions than sound coming through the wall from a neighbour. The panel primarily addresses sound within the room. Measure bare wall surfaces and note where people converse or work. A small panel is rarely sufficient on its own in a large room with many hard surfaces. It’s better to distribute solutions according to need rather than choosing solely based on available wall space.

SilentDirect PET Rectangle 100x50cm is a cuttable polyester panel that can be considered for a space-constrained project. According to the product specifications, it is 9 mm thick and should not be equated with a thicker absorber across all frequencies. Determine the desired result before finalising the frame depth. If you want a ready-made 50-mm wall absorber, “Sound Absorption for Walls – PES wall” may be an alternative to building it yourself; compare the selected design and its documentation.

SilentDirect Fabric One—an acoustic fabric for sound absorbers intended for sound-absorbing structures—is used as a covering. The fabric is designed to allow sound to reach the core and does not replace the absorber itself. Allow for a margin for folding and fastening on the back, and choose a colour based on the room’s lighting. Avoid dense layers of paint, plastic, or adhesive across the entire front surface unless explicitly permitted in the material instructions. Even an attractive surface must preserve the structure’s acoustic function.

Sketch the frame and calculate the finished weight before selecting hardware. Use straight frame pieces, check the angles, and sand any edges that could damage the fabric. Shape the core according to its handling instructions without compressing it too tightly. The wooden frame, joints, and wall mounts must be selected specifically for your design; a mounting option for a pre-made panel is not automatically sized for a larger panel.

Hang the panel from the frame’s load-bearing parts and check the wall material, wiring, and load capacity before drilling. Then compare the sound and reverberation before and after installation with the same furniture arrangement. A custom combination of panel, fabric, and frame does not automatically qualify for a sound absorption class or fire rating. If you need verified performance, you should compare ready-made sound-absorbing panels and request documentation for the specific product and installation. The guide below takes you through the project.

Recommended products

Choose a material for your acoustic panel

PET Rectangle – a cuttable panel for a thin panel
SilentDirect PET Rectangle 100x50cm is a cuttable option for a thin absorbent core. The product specifications indicate a thickness of 9 mm. Select it based on acoustic issues and the desired design; it should not be equated with a thicker absorbent material at all frequencies. Follow the panel’s handling and installation instructions.

Fabric One – a covering that allows sound to pass through
SilentDirect Fabric One – acoustic fabric for sound absorbers is intended for covering sound-absorbing structures. It provides a finished textile appearance while allowing sound to reach the core. The fabric does not replace the core. Plan for overlap and attachment to the frame, and avoid using dense paint or plastic over the front surface.

PES wall – ready-made wall absorber as an alternative
Wall Sound Absorption – PES wall has a 50 mm core and can be selected as a ready-made solution instead of a custom panel. Check the variant and selected mounting hardware. If you are building your own frame, the frame and hardware must be selected to support the entire weight; no verified complete frame with hardware is included in the reviewed documentation.

Step by Step – Build and Hang Your Sound-Absorbing Panel

Step 1 – Plan the Dimensions and Placement

How to do it: Measure the available wall space and choose a location where the panel won’t interfere with doors or furniture. Mark the dimensions, frame depth, and mounting points. Use a tape measure, pencil, and set square.

Check before proceeding to the next step: Make sure the location helps address the room where reverberation is a problem and that you know the wall material. A panel is not a solution for sound travelling through walls.

Step 2 – Choose the core, fabric, and mounting method

How to do it: Read the core’s data sheet and installation instructions. Choose a covering designed to allow sound to pass through to the absorber. Calculate the weight, including the frame, materials, and hardware, and select fasteners based on the wall’s construction. A cuttable option for a thin core is SilentDirect PET Rectangle 100x50cm, which is 9 mm thick according to the product specifications. Do not assume this is equivalent to a thicker absorber at all frequencies. For the front surface, use SilentDirect Fabric One—an acoustic fabric for sound absorbers, intended for covering absorbers; it does not replace the core. The reviewed documentation does not identify a verified complete wooden frame and fitting solution and must be selected separately based on the load.

Check before proceeding to the next step: Verify any requirements regarding fibre protection, fire safety, and the intended environment. Do not apply a single component’s classification to the entire panel.

Step 3 – Build the frame and fit the core

How to do it: Cut and join the frame parts, check the angles, and sand down any sharp edges. Fit the core using the recommended tools and protective equipment. Secure it against slipping without compressing it too tightly. When using SilentDirect PET Rectangle 100x50cm, cutting and installation must follow the panel’s handling instructions. Do not allow the frame or tight cladding to block access to the intended sound-absorbing surface.

Check before proceeding to the next step: Verify that the frame is rigid and that the core remains in place when the structure is gently turned over. Select the backing and any air gap using the absorber’s documentation.

Step 4 – Cover and inspect the panel

How to do it: Lay the fabric on a clean table and attach it alternately to the opposite sides of the frame. Use suitable staples or other recommended fasteners in the wood. Fold the corners and trim away only unnecessary excess. Use SilentDirect Fabric One—acoustic fabric for sound absorbers —as a sound-permeable covering with a fold allowance for the back of the frame. Do not apply a dense paint film over the fabric; this would alter the structure.

Check before proceeding to the next step: Ensure even tension, a clear front surface, and that no sharp fasteners are protruding. Avoid applying a solid coat of paint or a plastic layer over the core.

Step 5 – Mount on the Wall

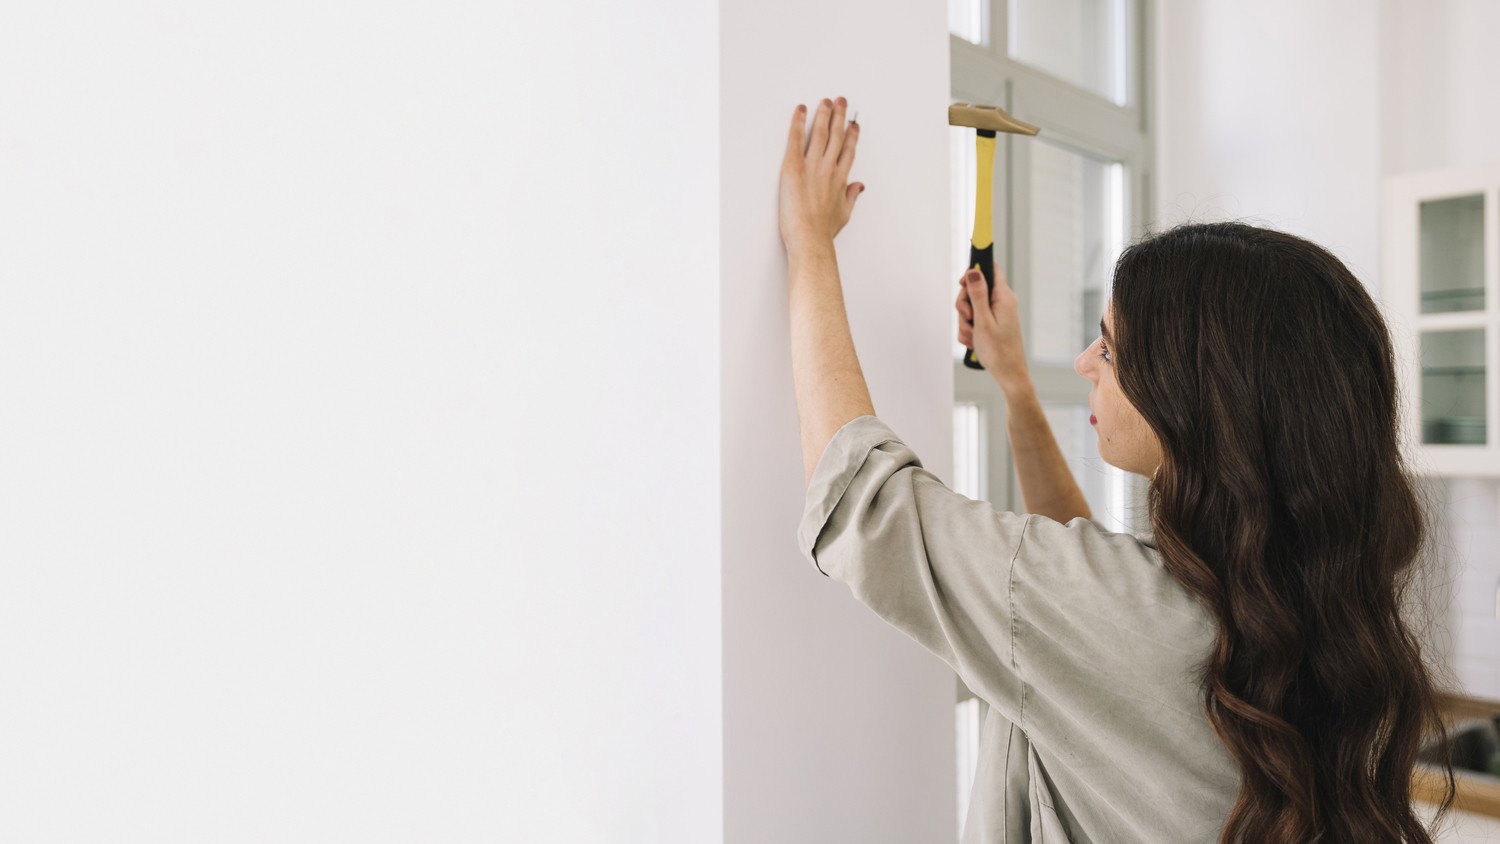
How to do it: Attach the mounting hardware to the frame’s load-bearing parts. Use screws and, if necessary, anchors suitable for the wall’s substrate and load. Follow the hardware’s instructions and check the wall’s structure before drilling. SilentDirect PET Rectangle 100x50cm can be ordered with various mounting options, but the panel’s options do not guarantee the load-bearing capacity of your own frame. Select mounting hardware rated for the total weight of the panel. If you instead choose the ready-made Wall Sound Absorber – PES wall, use its specified mounting hardware and installation instructions without modifying it, and do not rely on unverified classification claims.

Check before proceeding to the next step: Ensure that the panel is securely mounted and cannot slip off during normal use. Do not leave any unsecured heavy components above seating or sleeping areas.

Step 6 – Evaluate and Adjust

How to do it: Compare speech and reverberation with the same furniture arrangement before and after. Listen from the location where the room is used. If one panel is not sufficient, plan for more absorptive surface area or seek advice on placement.

Check before proceeding to the next step: Also check the mounting and the condition of the material. Do not claim any specific absorption class or sound reduction for an untested design.

Did you know that…

The surface of the panel needs to allow sound to reach the porous material. A smooth but impermeable surface layer can therefore interfere with the function you are trying to achieve.

Selected articles

What's the best way to hang a sound-absorbing panel on the wall?

Where should sound absorbers be placed?

Sound-absorbing fabric room dividers

Choose materials based on the complete panel

With PET absorbers, you can compare pre-fabricated panels and current installation options. The material’s thickness and substrate must be evaluated for your project. Accessories should be selected based on the frame and wall. If verified performance is a requirement, choose a documented, ready-made solution rather than assigning a performance class to a custom panel.

*Free delivery

Free delivery to a collection point

5-year guarantee

5-year product guarantee

Fast Delivery

Usually ships the same day

A wall panel that helps reduce reverberation

A homemade sound-absorbing wall panel consists of a porous absorbent core, a stable frame and a covering that allows sound to reach the core. It can reduce reflections in a room with hard surfaces. The effect depends on factors including material properties, thickness, covered area and installation. The panel does not soundproof the wall against noise from a neighbour.

First plan where the panel will go and which problem you want to solve. One small panel cannot transform the acoustics of a large, reverberant room on its own. Several well-positioned absorbers or a combination of wall and ceiling treatments may be needed.

Materials and tools

  • Straight frame sections and joints that form a stable structure.
  • A dimensionally stable porous absorber documented by its manufacturer as suitable for indoor use and the intended construction.
  • Acoustically suitable fabric with enough allowance for folding and fixing.
  • Fixings specified for the finished panel’s weight and the wall material.
  • A tape measure, try square and tools suitable for the frame, fabric and absorber.

Do not choose solely by how soft a material feels. Read the data sheet, handling guidance and installation instructions. A thin fabric is primarily a covering and does not automatically replace an absorbent core. Paint, plastic film and sealed surface coatings on the front can prevent sound from reaching a porous material.

Draw the panel and decide how to hang it

Measure the available wall area and choose the core before deciding the frame depth. Calculate the combined weight of the frame, core, fabric and fittings. Plan fixings in the load-bearing parts of the frame. Check that the wall substrate can support the load and avoid locations where the panel could strike doors, lights or furniture.

Build a sturdy frame

Cut and join the frame sections using a method suited to their dimensions. Check for right angles and make sure the frame does not twist. Sand sharp edges that could otherwise damage the fabric. Do not automatically add an extra sealed board layer: the backing and any air gap affect sound absorption and should be selected using the absorber’s documentation.

Fit the core and hold it in place

Cut the core according to the material’s handling instructions and use the specified protective equipment. It should fit into the frame without being heavily compressed. Secure it so it cannot slide down or fall out when the panel is hung. If the material requires fibre protection or other encapsulation, the solution must follow the supplier’s instructions and suit the application.

Cover the frame without sealing the front

Lay the fabric on a clean surface, centre the frame and fasten the fabric to the frame sections at the back. Work alternately from opposite sides to maintain even tension. The fabric should lie flat without deforming the frame or compressing the core. Make sure staples and other fixings do not protrude. Do not glue the entire front surface unless the material instructions support this.

Hang the panel and evaluate it

Install fixings in the load-bearing parts of the frame and use suitable screws and, where needed, wall plugs. Follow the fixings’ load ratings. Place panels on clear wall surfaces near the part of the room where the sound environment needs improvement, preferably distributing absorption over several surfaces. Any air gap must be stable and planned. Compare conversation and reverberation before and after in the same furnished room.

A homemade construction does not automatically receive a class

The absorption class and fire properties of an individual component do not automatically apply to the finished panel. The frame, fabric, adhesive, core and installation all affect the whole. Do not claim Class A or a fire class for a homemade construction without relevant test and classification documentation. Where documented requirements apply, a finished, documented solution is often more suitable.

Compare finished sound-absorbing wall panels, PET absorbers and installation accessories according to your construction.