How to Soundproof Your Basement, Step by Step
A basement should be treated as a single, contiguous space. Don’t start by buying materials for the largest wall before you know where the sound is traveling. We recommend that you map out the sound paths and then proceed in the following order: moisture and ventilation, sealing, vibration damping, walls and ceilings, floors, doors and windows, and finally, acoustic treatment.
1. Determine how the basement will be used
A home office or guest room needs to be protected from outside noise. A music room, gym, or home theater needs to prevent sound from escaping the basement to a greater extent. A laundry or utility room often requires a focus on machine vibrations, pumps, pipes, and ventilation. Write down which sounds are disruptive, when they occur, and in which room they are heard most clearly.
2. Check for moisture, ventilation, and structural issues
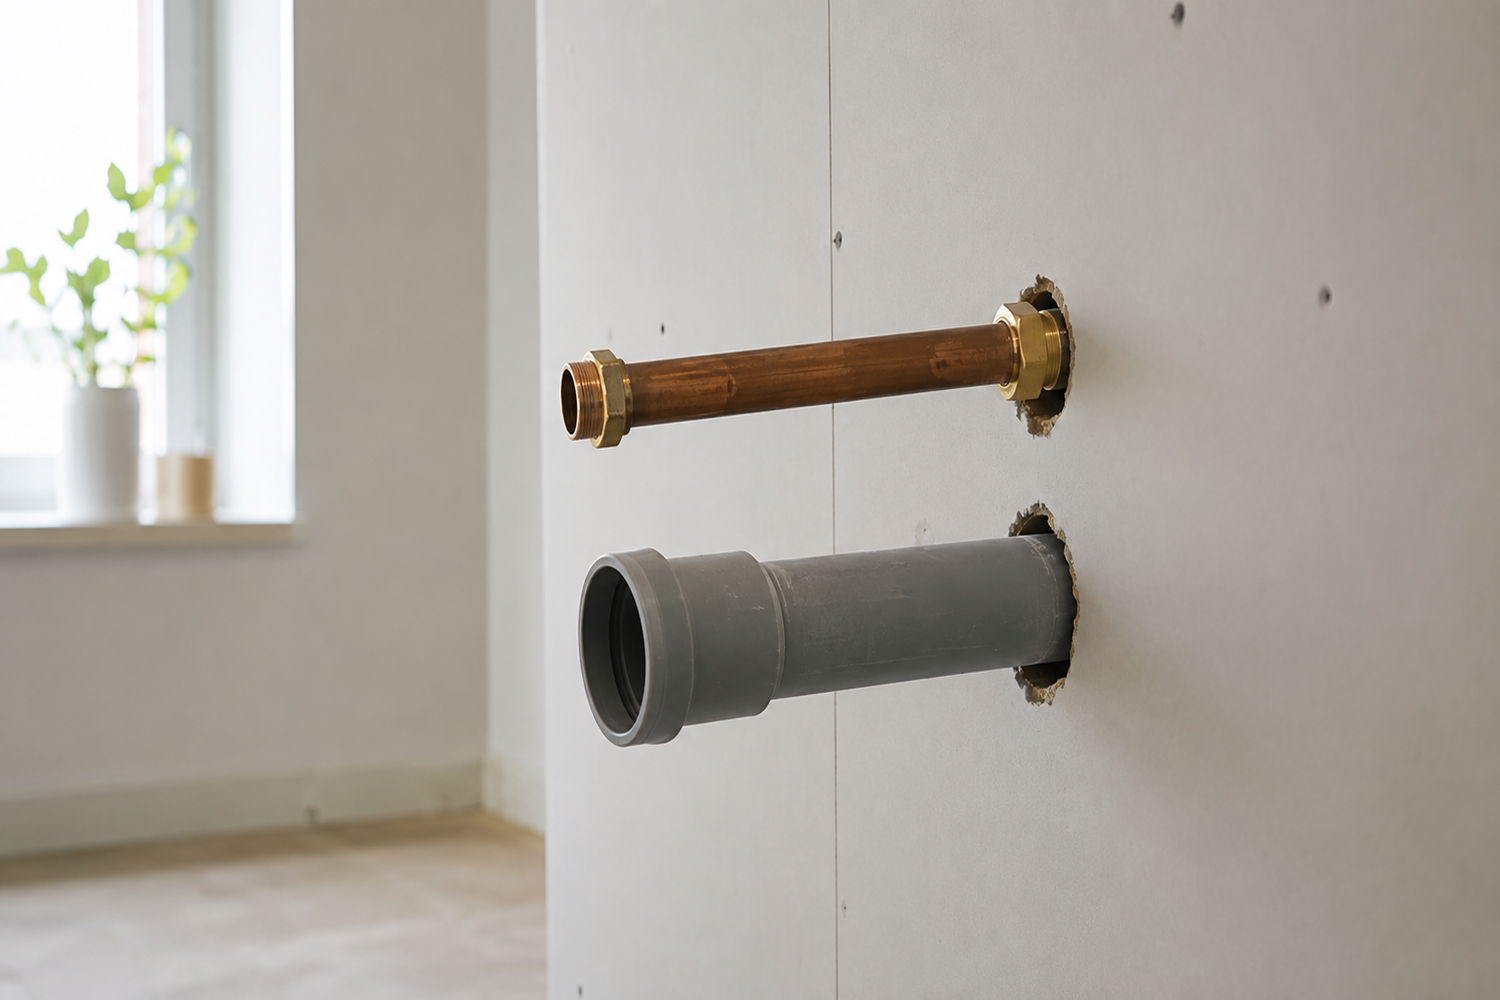
Inspect foundation walls, floors, window jambs, and pipe penetrations. Discoloration, odors, salt efflorescence, or recurring condensation should be investigated before any interior construction is undertaken. Do not seal off supply air, exhaust air, or other necessary air pathways. Also check fire safety requirements, evacuation routes, and ceiling height if the basement is to be repurposed.
3. Locate sound leaks
Have one person play speech or music on one side of the affected building section while another listens along edges, frames, penetrations, and joints. Use the light method by turning off the lights on one side and shining a light along the joints from the other. Visible light indicates an open path of sound transmission. With the pressure method, gently press against a door, panel, or trim while the sound is playing. If the sound level changes, there is likely a loose or movable connection.
4. Seal cracks, joints, and penetrations
Clean the surfaces and seal openings with a material that is suitable for the substrate and can maintain its function as the structure moves. SilentDirect Seal is suitable for cracks, joints, and contact surfaces where small air leaks or vibrations need to be reduced. SilentDirect Aluminum Sealing Tape can be used to seal joints, seams, and aluminum-clad transitions that need to be kept closed. Re-check the seal using the light and sound test.
5. Decouple new studs and sheathing
When working with sound insulation and vibration damping, one of the most important principles is to decouple materials from one another. If building components are in direct contact, vibrations, structure-borne sound, and sound energy can be transmitted through the structure.
Apply SilentDirect Seal to the parts of the stud that come into contact with the floor, ceiling, or adjacent walls. The sealing strip is made of nitrile rubber and serves as a vibration-damping and sealing layer between the materials. Ensure that wood or panel materials do not create unintended rigid bridges across the damping layer.
6. Construct the basement walls
First, inspect and seal the existing wall. A heavy barrier such as SilentDirect MLV can be used in a sealed construction to dampen airborne sound. On hard surfaces where a thin barrier, sealing, and vibration damping are needed, SilentDirect Polaric may be appropriate, subject to the product’s installation requirements.
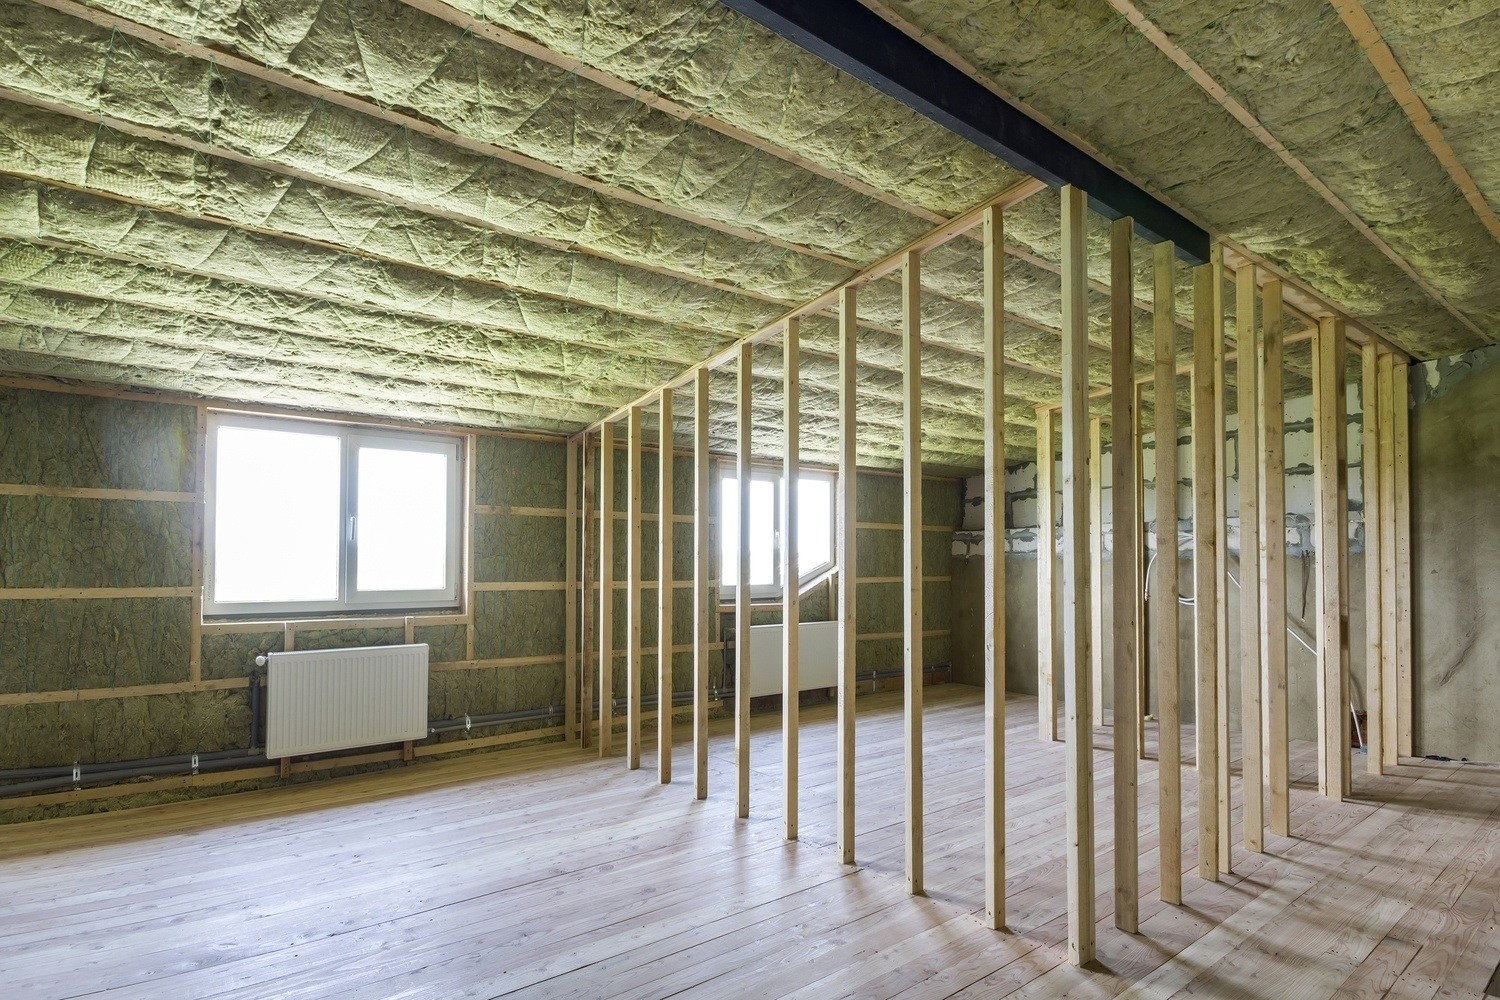
For the most effective wall solution, then construct a decoupled stud frame with a porous sound-absorbing material in the cavity and at least two new panel layers, such as OSB followed by drywall. Do not leave open joints at the floor, ceiling, or side walls. When space is limited, a solution without a separate framing system can be used, but more mechanical fasteners through the layers create stiffer connections and typically result in poorer decoupling.
7. Treat the basement ceiling and floor joists
If sound is traveling between the basement and the floor above, the entire ceiling surface, edges, and penetrations must be inspected. The most effective solution consists of a dense barrier layer, a decoupled stud framework or suspended ceiling, a porous material in the air gap, and new panel layers. Studs and panels should not have unnecessary direct contact with the existing floor joists.
A simpler solution without a separate joist system can be used when ceiling height is limited, but it does not provide the same degree of decoupling. Plan the fastenings based on the substrate, weight, electrical installations, and fire codes. Have a professional assess the load-bearing capacity and installations when the structure is uncertain.
8. Dampen the floor and equipment
For airborne sound transmitted through the floor, SilentDirect MLV can be combined with a resilient layer and a stable subfloor panel before installing the finish floor. Avoid hard contact between the floating floor and the side walls, and seal the joints around the entire perimeter.
Machinery should primarily be damped at the source. Dampio PRO is designed for machine feet, pumps, and equipment that transmit vibrations to the floor. Ensure that the number and placement of the dampers are appropriate for the equipment’s weight and that the machine stands stably.
9. Seal doors and check basement windows
Adjust the door panel and hinges before installing new weatherstripping. Seal around the frame and check the gap at the threshold. The SilentDirect seal door can reduce leaks at the floor gap without permanent installation. For basement windows, check the sash, frame, and the connection to the foundation wall.
10. Check pipes and ventilation
Pipes should not be allowed to rattle against building components. Inspect fasteners and contact points, and dampen vibrations without restricting the pipes’ necessary movement. SilentDirect Air is a moldable absorber for ventilation ducts and installations where sound needs to be dampened but airflow must still be maintained. Modifications to ventilation systems should be made without compromising airflow, fire protection, or service access.
11. Improve the acoustics inside the basement
Once sound transmission has been addressed, absorbers can reduce echoes and sound reflections. This is particularly relevant in music rooms, home theaters, gyms, and rooms with painted concrete surfaces. We typically recommend sound-absorbing the ceiling first, as it is often a large, unobstructed, and effective absorption surface. Then, supplement with wall absorbers where significant reflections remain.
12. Test the sound and perform a follow-up check
Repeat the same listening test that was performed before the work began. Check doors, windows, stairs, pipes, and every joint between new and existing surfaces. If the sound is still concentrated in a small area, that area should be addressed before installing additional material throughout the room. Complete soundproofing is difficult to achieve, but a dense, heavy, and decoupled construction can result in a noticeably quieter basement.