


Soundproofing a studio – Creating the optimal sound environment
Soundproofing a studio is a crucial step in creating a neutral, balanced sound environment, free from disruptive reflections and unwanted reverberation. Whether you work in a professional recording studio, a home studio, or a mixing room, the acoustics of the room directly affect how sound is perceived. Poor acoustics can color the sound and create imbalances in frequency response, making it difficult to mix and produce sound correctly. By strategically placing sound absorbers, you can create a controlled and precise sound image, leading to better recordings and more reliable mixing decisions.
Why is sound absorption important in a studio?
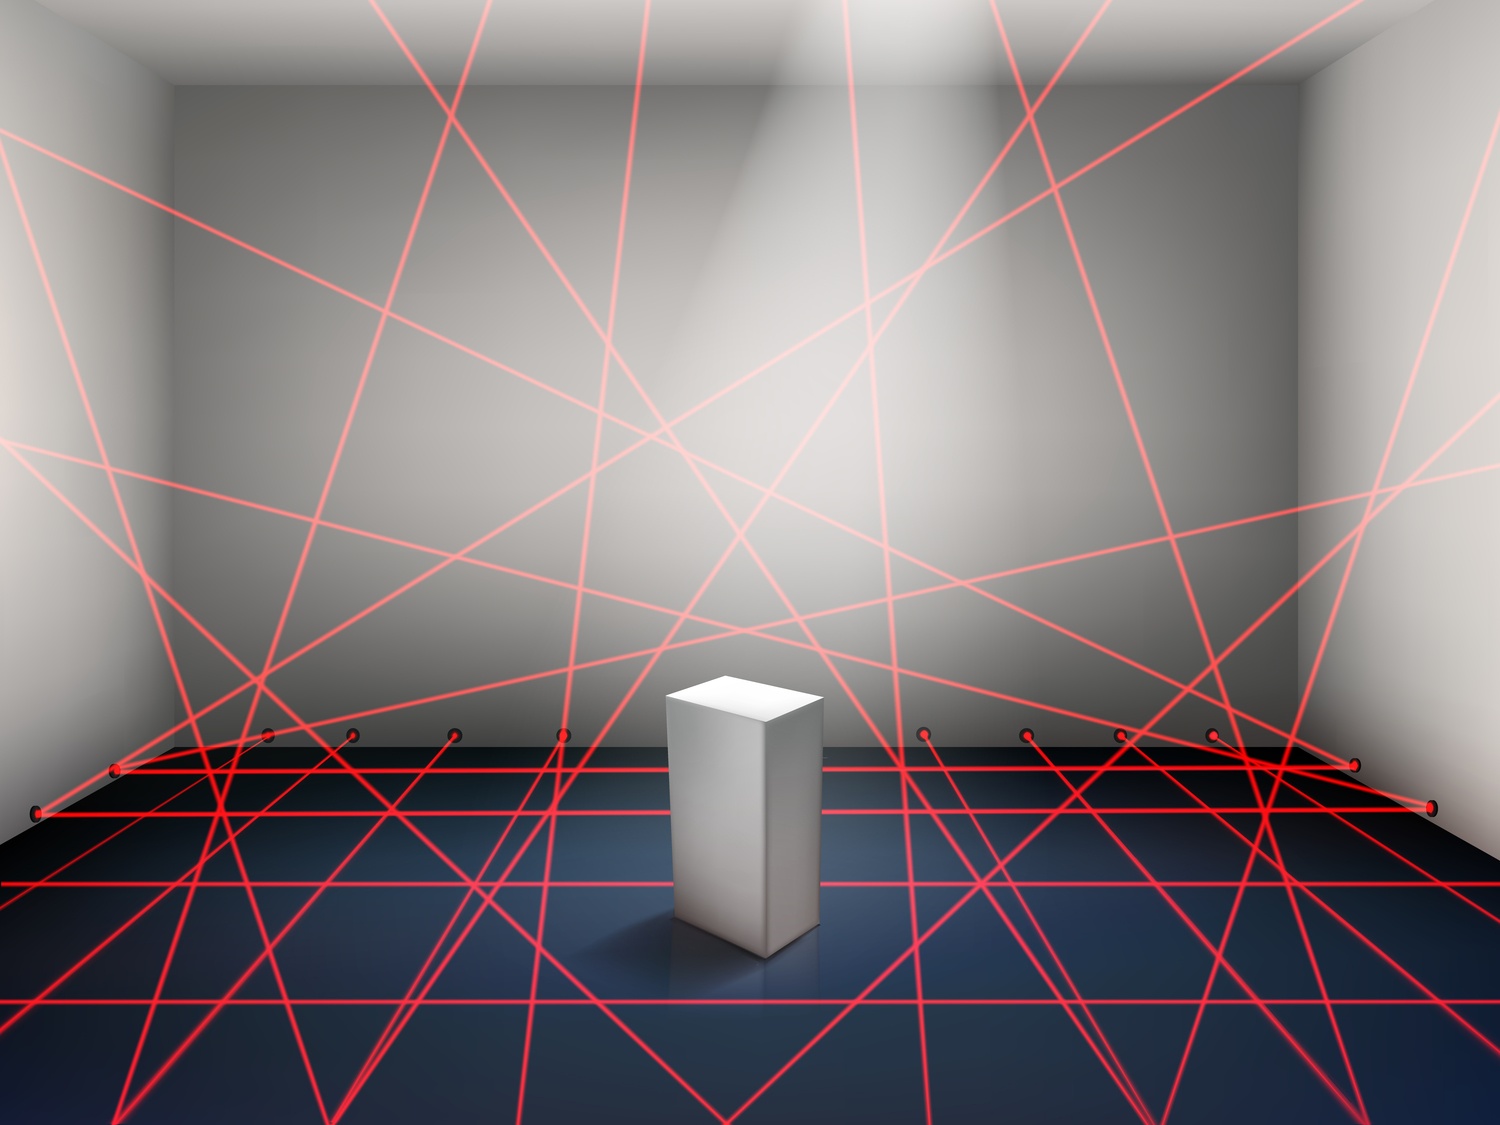
Sound bouncing off hard surfaces such as walls, ceilings, and floors can create phase problems, standing waves, and long reverberation times. This results in a colored sound image, where some frequencies are amplified while others are attenuated. To avoid this, the studio needs to absorb and control sound waves in a way that ensures even and uncolored acoustics.
The most common problems that arise in a studio without proper sound absorption are:
Unwanted sound reflections
Can lead to echoes and phase problems.
Uneven bass response
Some frequencies are amplified while others are weakened.
Poor mixing environment
Mixes that sound good in the studio may sound unbalanced in other environments.
The solution to these problems is to use strategically placed sound absorbers that reduce sound reflections and create a clear and balanced sound image.
How to place sound absorbers for the best effect
To achieve optimal acoustics in a studio, sound absorbers should be placed in strategic locations where sound reflections occur.
Ceiling absorbers
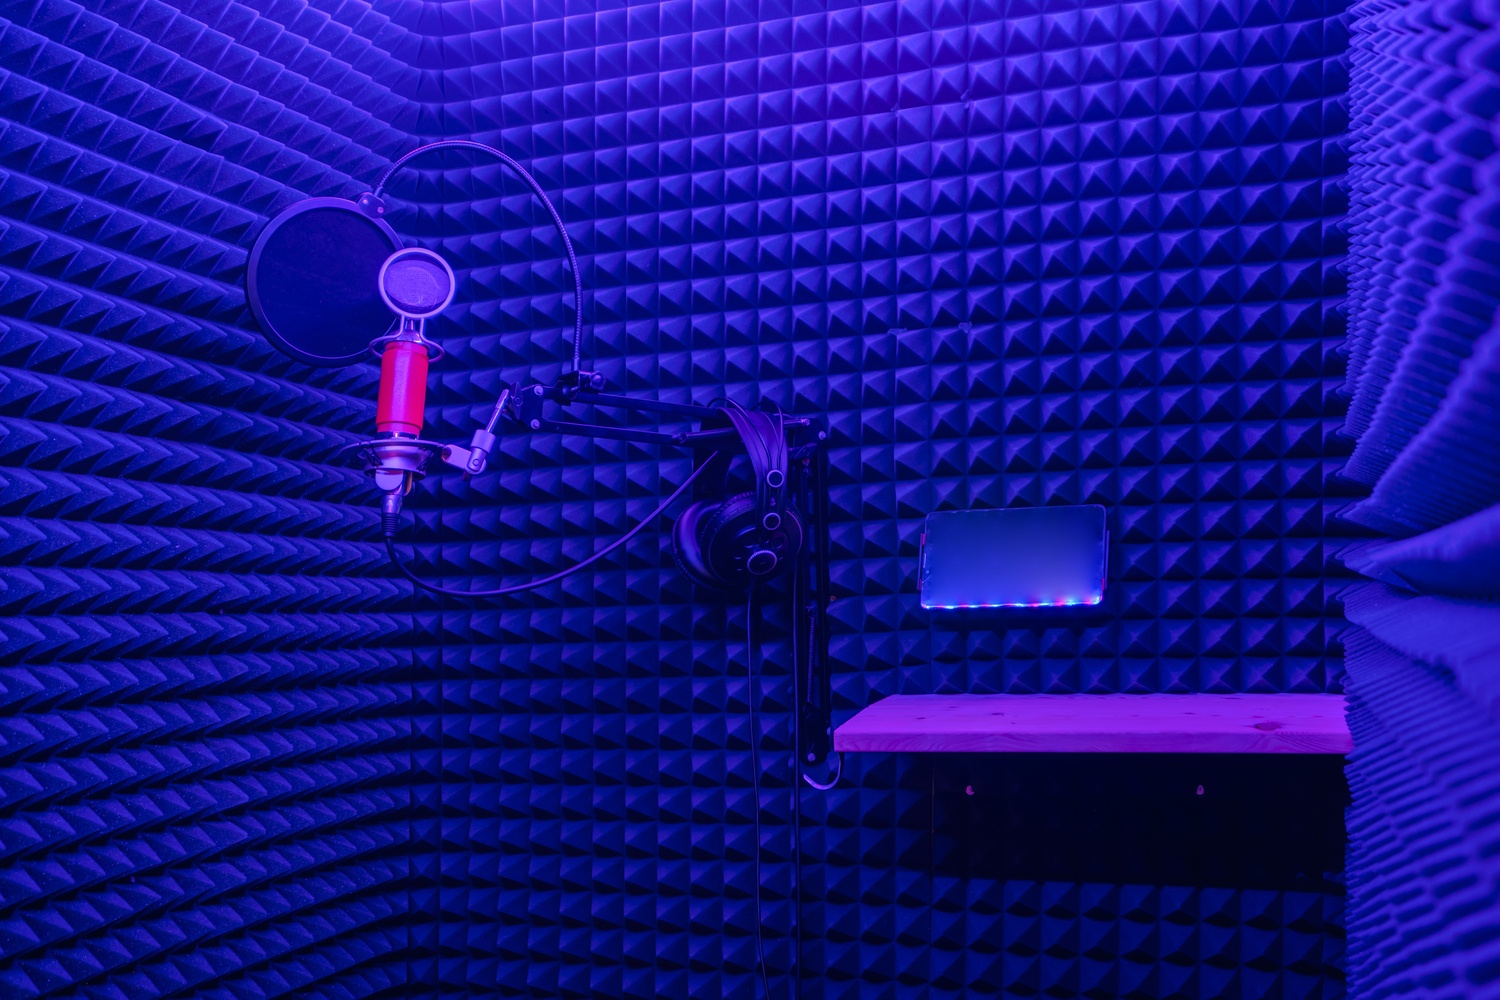
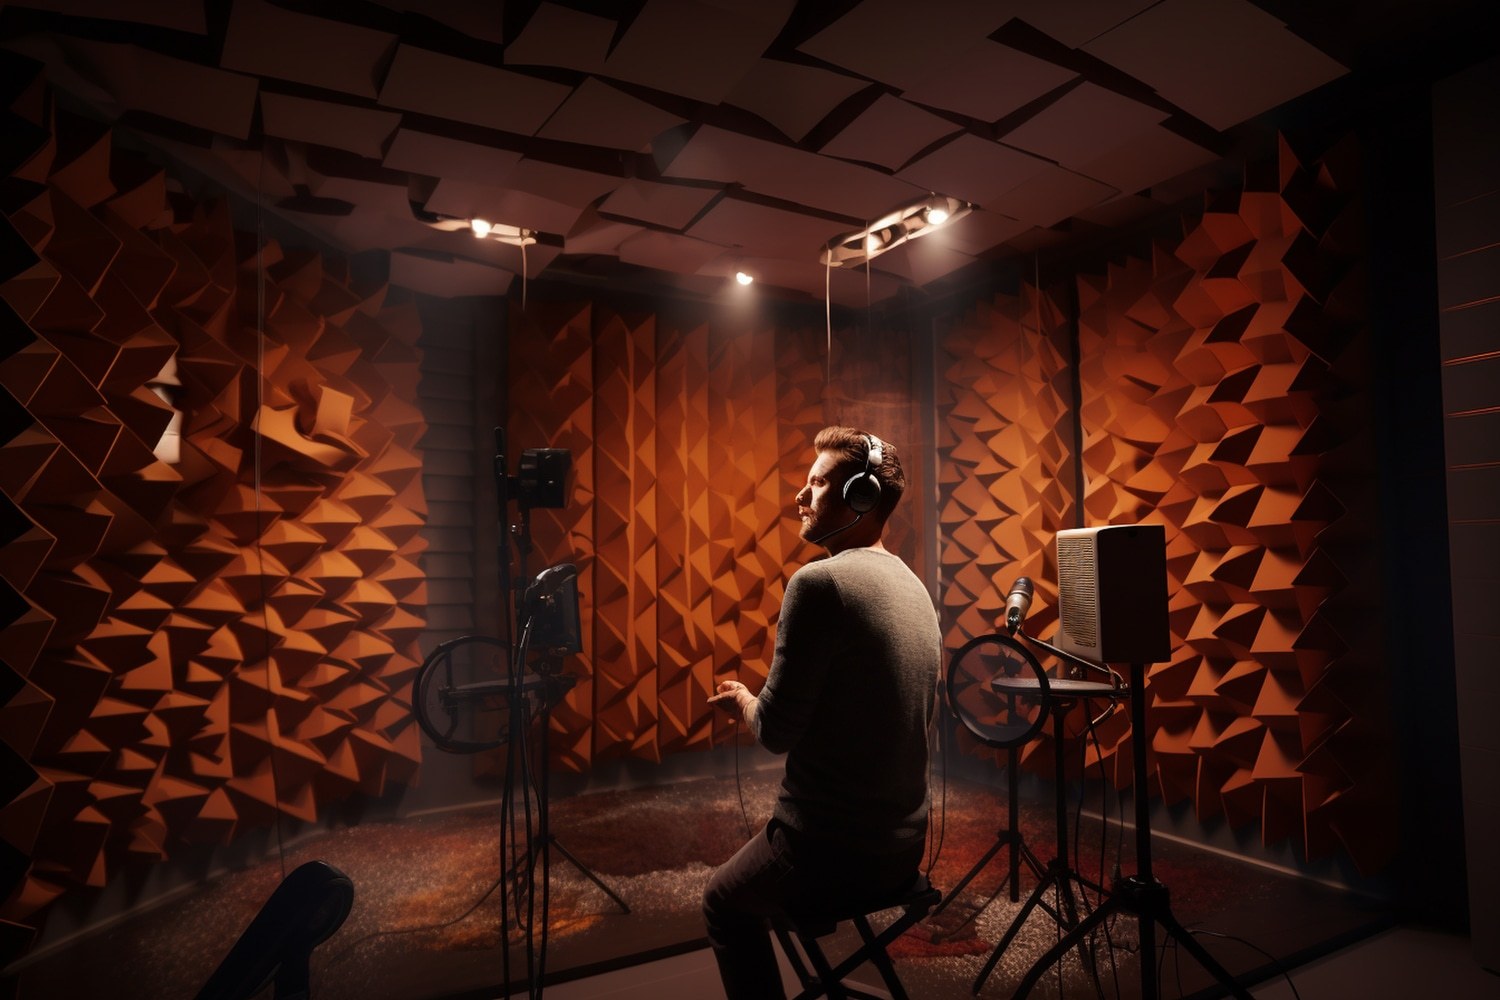
The ceiling is one of the largest surfaces in a studio and a common source of reflected sound. By installing ceiling absorbers above the mixing position and recording area, you can capture sound waves before they bounce back, reducing phase problems and reverberation.
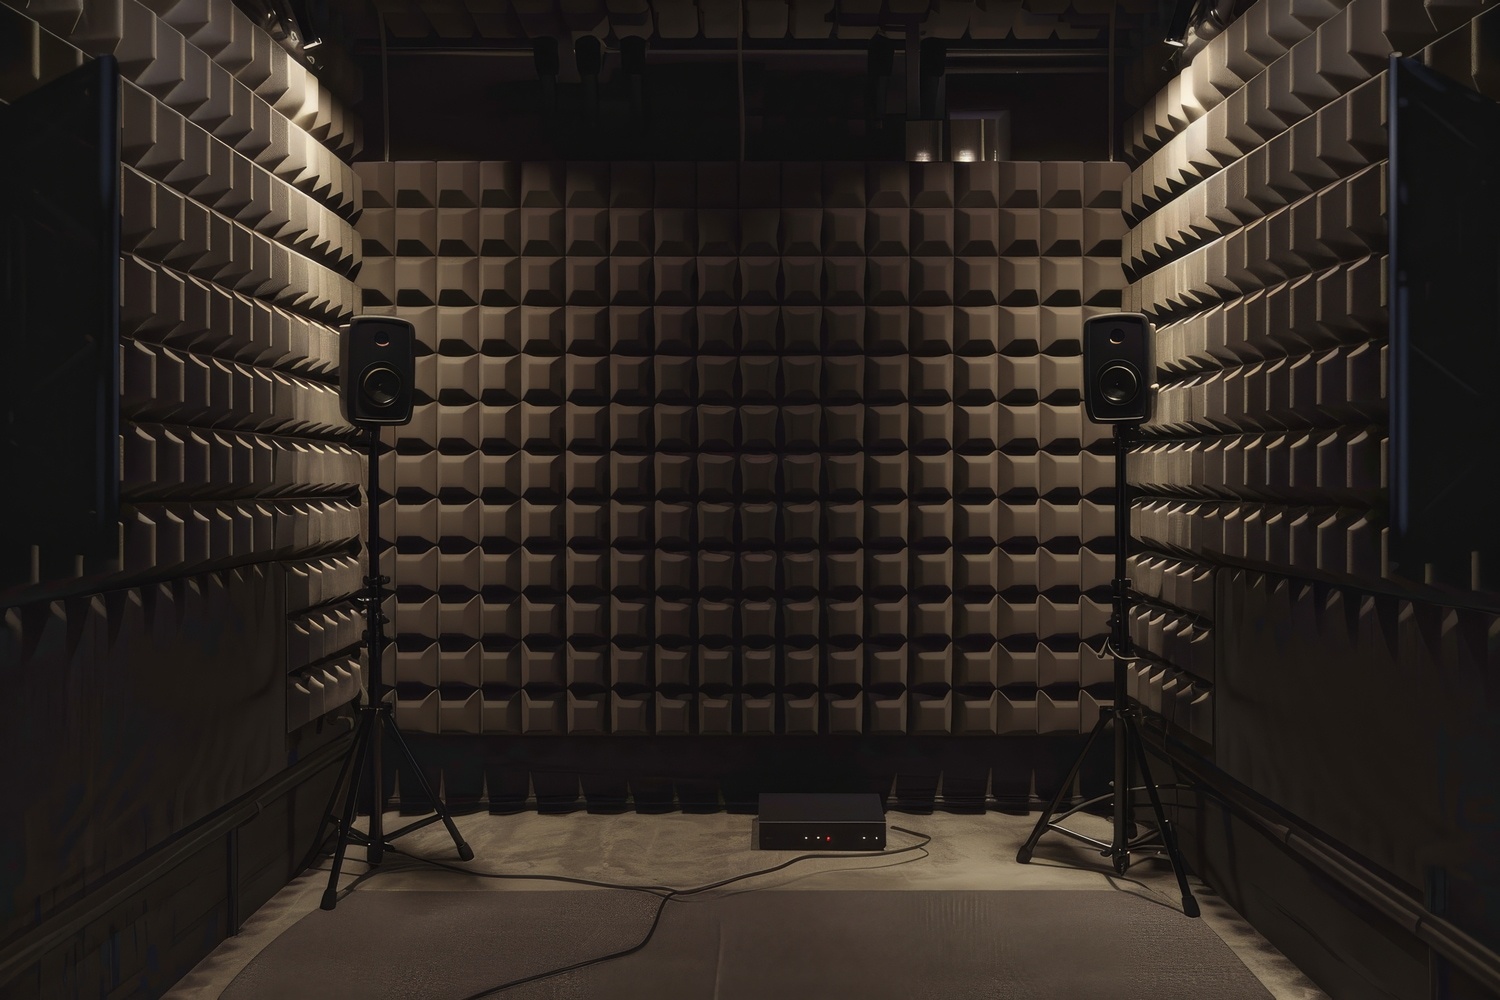
Wall absorbers
The side walls are the first surfaces that sound hits after leaving the speakers or instruments. Place sound absorbers on the primary reflective surfaces (first reflection points) to minimize early reflections that can color the sound. It is especially important to place absorbent material behind the listening position to reduce unwanted reflections.
Bass traps to control low frequencies
Bass sounds have longer wavelengths than higher frequencies and tend to accumulate in the corners of the room. This creates standing waves that can cause certain bass frequencies to be amplified or attenuated, negatively affecting the mix. By installing bass traps in the corners—both vertical corners and where walls meet ceilings/floors—you can effectively control low-frequency problems and create a more even bass response.
Diffusers for a natural sound image
Too much sound absorption can create a dead sound environment, where the sound feels confined and unnatural. To maintain a natural space in the sound, diffusers can be used in combination with sound absorbers. Diffusers spread sound waves evenly throughout the room instead of absorbing them completely, creating more natural acoustics.
Finding the right balance between sound absorption and diffusion
A studio needs both absorption and diffusion to achieve optimal sound quality.
- Too much absorption can make the room too muffled, making the sound unnaturally dry and confined.
- Too little absorption can cause too many reflections and an uncontrolled sound image.
- Diffusion helps to spread sound waves evenly throughout the room and create a more open sound environment.
By combining sound absorbers with diffusers, you get balanced acoustics where the sound retains its natural character while reflections are controlled.
Sound absorption in different types of studios
Depending on the type and size of the studio, sound absorption may need to be adjusted:
Recording studio
Requires high sound absorption to minimize disruptive reflections that can affect recording quality.
Mixing and mastering studio
Requires balanced acoustics with both sound absorption and diffusion to ensure accurate sound reproduction.
Home studio
Often has acoustic challenges due to small rooms and limited customization options, making the correct placement of absorbers and bass traps extra important.
The advantages of an acoustically optimized studio
Accurate sound reproduction
You hear the sound exactly as it is, leading to better mixing decisions.
Reduced sound leakage
Recorded sound is not affected by reflections from the surroundings.
Better recording quality
Sound is absorbed where needed, reducing reverberation and phase issues.
Professional working environment
Well-balanced acoustics make the studio more productive and comfortable to work in.
Summary – How to create an optimal sound environment in your studio
Soundproofing a studio is an investment in better sound production and a more professional working environment.
- Place sound absorbers strategically on walls and ceilings to reduce early reflections.
- Install bass traps in the corners to control low frequencies and standing waves.
- Use diffusers to preserve a natural sound image and prevent the sound from becoming too muffled.
- Adapt the acoustics to the size and purpose of the studio to optimize sound quality and workflow.
With the right acoustic solutions, you'll have a studio where you can work with sound professionally, where mixes are more reliable and recordings are of the highest quality. Well-designed sound absorption isn't just an improvement—it's a necessity for serious music producers, sound engineers, and creators.