• Free shipping
  • 5-year warranty
  • Fast delivery

How to soundproof a studio – A complete guide

Soundproofing a studio is a crucial process for creating a professional recording environment free from outside noise and preventing sound leakage that could affect the surrounding area. Soundproofing involves blocking sound by using the right materials and construction techniques to prevent sound transmission through walls, floors, ceilings, doors, and windows. Unlike sound absorption, which reduces reverberation and improves the acoustics inside the studio, soundproofing aims to create a dense and independent sound barrier.

To achieve effective soundproofing, the studio needs to be built with materials that have high density and the ability to block sound. Sound travels through vibrations, and to reduce these, a combination of heavy materials such as plaster, solid wood, and sound-absorbing membranes needs to be used. The construction should also include air gaps and spring suspensions to reduce sound transmission through the structure. One of the most effective methods of soundproofing a studio is to build a "room within a room," where the walls, ceiling, and floor are decoupled from the surrounding building to minimize vibration transfer.

One of the biggest sources of sound leakage in a studio is doors and windows. To ensure maximum soundproofing, doors should be solid and fitted with weatherstripping to eliminate air leakage. Double- or triple-glazed windows with acoustic laminated glass can help block external noise without affecting light transmission. All joints and gaps should be sealed with acoustic joint compound to prevent sound from finding its way through small openings.

The floor is another important aspect of soundproofing, especially if the studio is located in a multi-story building. To prevent structure-borne noise from traveling through the floor, a floating floor construction can be used, where the floor rests on vibration-damping materials such as acoustic mats or spring isolators. This prevents sound from footsteps and bass sounds from spreading through the building.

Air ventilation is an aspect that is often overlooked when soundproofing a studio. Since a studio must be completely sealed to prevent sound leakage, it can be difficult to bring in fresh air without letting in noise. To solve this, sound-absorbing ventilation ducts and quiet fans are used to ensure air circulation without disturbing the recording.

By combining the right materials and construction techniques, a studio can achieve high sound insulation and create a professional environment for recording and music production. Well-designed sound insulation is a long-term investment that improves both the working environment and sound quality.

Recommended products

The advantages of soundproofing a studio

Soundproofing a studio is crucial for creating a professional recording environment where sound quality is optimal and disruptive noise is kept out. A well-insulated studio ensures that external sounds do not penetrate and that sounds from inside the studio do not leak out into the surrounding area. This is particularly important for music production, podcast recording, and other sound-related work where precision and clean sound reproduction are key.

An undisturbed recording environment without external interference
External sounds such as traffic, people talking, or noise from other parts of the building can interfere with a recording and negatively affect the final result. Soundproofing the studio creates a quiet environment where sound recording is clean and free from unwanted interference. This makes it possible to record high-quality sound without having to worry about background noise that can ruin a take.

Prevents sound leakage and minimizes disturbance to the surrounding area
Soundproofing is not only important for keeping unwanted noise out, but also for preventing loud noises from the studio from spreading to the surrounding area. Music, voices, and bass frequencies can otherwise penetrate walls and floors and disturb neighbors or others in the building. By using sound-absorbing materials and constructing the studio in a well-thought-out manner, sound leakage can be minimized, allowing work in the studio to proceed without restrictions.

Improved sound quality and acoustic control
Sound insulation helps to create a controlled sound environment where reverberation and resonance are reduced. This is particularly important in a studio where precision in sound reproduction is crucial. When sound insulation is combined with sound-absorbing measures, the studio achieves balanced acoustics where every sound is captured naturally, without disturbing reflections or uneven sound levels.

Ability to record at any time of the day
A well-insulated studio gives you the freedom to record music, podcasts, or other audio productions at any time without having to consider your surroundings. Without effective sound insulation, late-night recordings can disturb neighbors, limiting your production possibilities. By building a soundproof studio, you can work on your own terms, regardless of the time of day.

Increased concentration and a better working environment
Soundproofing contributes to a calmer and more focused working environment where disturbing noises from the surroundings do not affect the workflow. For producers, musicians, and technicians who work with complex sound details, it is important to be able to concentrate without interruption. A soundproof studio creates the best conditions for creativity and productivity.

Protects against low-frequency sounds and vibrations
Bass frequencies and low-frequency sounds can be difficult to control because they have the ability to travel through walls, floors, and ceilings. By soundproofing the studio with high-density materials and using floating floor constructions, these sounds can be absorbed and prevented from spreading. This makes the sound image in the studio more controlled and ensures that outside noise does not affect the recordings.

Professional standard and increased investment in equipment
A professionally soundproofed studio is a long-term investment that raises the standard of both the working environment and the final audio product. Whether you are recording music, mixing sound, or creating voice recordings, the quality will be higher when surrounding disturbances are eliminated. In addition, a soundproof studio protects sensitive audio equipment from disturbances that could otherwise affect the recording results.

A competitive space for professional audio production
For those who run a commercial studio or rent out studio time, a well-insulated space can be a decisive competitive advantage. Professional artists and producers seek out recording spaces where sound quality is top-notch and interference-free conditions are guaranteed. A studio with high sound insulation therefore becomes more attractive to both customers and partners.

By soundproofing your studio, you create a professional environment where you can work undisturbed, achieve better recording quality, and maximize your creative work. A soundproof studio is an investment that raises the standard of your productions and ensures that you have full control over your sound environment.

Wooden studs vs. steel studs – Which is best for soundproofing a studio?

Choosing the right framework is one of the most important factors when soundproofing a studio. Wood and steel have different properties in terms of sound absorption, stability, and installation. Below, we go through the advantages and disadvantages of both materials.

Wooden studs – Advantages and disadvantages


Advantages of wooden studs:

Better sound absorption of low frequencies
Wood absorbs low-frequency vibrations better than steel.

Easier to work with and adjust
Easier to screw into, cut, and adapt.

Cost-effective
Generally cheaper than steel studs.

Easy to combine with sound-absorbing materials
SilentDirect Seal adheres very well to wood.

Disadvantages of wooden studs:

May shrink and expand
Affected by temperature and humidity.

Easier to transmit structure-borne sound
Require proper sound insulation to prevent sound leakage.

Steel studs – Advantages and disadvantages


Advantages of steel studs:

Reduces structure-borne sound better than wood
Better at breaking sound waves.

No risk of cracks due to moisture or temperature changes
Does not change over time.

Stronger structure
Less prone to vibration than wooden studs.

Disadvantages of steel studs:

Can amplify high frequencies
Requires extra sound absorption with SilentDirect Egg.

More expensive than wooden studs
Steel is usually more expensive than wood.

More difficult to install and screw in
Requires special screws and careful installation.

Regardless of which option you choose, SilentDirect Seal is always recommended to dampen structure-borne noise and vibrations.

Step-by-step: How to soundproof a studio effectively

Creating a soundproof studio requires a well-thought-out strategy to block sound transmission, reduce structure-borne noise and vibrations, and improve acoustics. Here is a detailed guide to building a professional and quiet recording environment.

Step 1: Soundproof the walls – Block sound transmission

The walls are a big part of the studio's soundproofing and need to be built to effectively block sound and minimize vibrations.

Step 1.1: Build a frame to create a decoupled wall

There are three options for building the wall structure:

Option 1 – Attach a frame to the existing wall

- Use either wooden studs or steel studs.

- Cover the entire front, back, bottom, and top of the stud with SilentDirect Seal to minimize structure-borne noise.

Option 2 – Build a floating frame

- Use either wooden studs or steel studs.

- Place the entire stud frame at least 15 mm from the existing wall to create an insulating air gap and prevent vibrations from being transmitted.

Option 3 – Use vibration-damping fasteners or rails

- Install vibration-damping fasteners or rails to minimize structure-borne noise.

Step 1.2: Fill the frame with SilentDirect Egg

- SilentDirect Egg is installed inside the framework to absorb sound and reduce reflections.

Step 1.3: Install SilentDirect MLV on the front of the studs

- Attach at least 1 layer of SilentDirect MLV to the front of the studs where the gypsum boards will be mounted.

- For better results, install 2–4 layers of MLV before screwing the plasterboard in place.

Step 1.4: Install plasterboard for extra sound insulation

- Minimum requirement: 2 layers of plasterboard or 1 layer of OSB/plywood + 1 layer of plasterboard.

- Optimal solution: 3–4 layers of plasterboard (each board reduces the sound level by approx. 3 decibels).

Air gap – Important factor in a studio

- The air gap should normally be 50 mm, but in a studio, a minimum of 150–300 mm is recommended, depending on the type of studio.

- Studs with a minimum depth of 200 mm are recommended.

- If SilentDirect Egg 50 mm is used inside the construction, the air gap will be 150 mm, which is the minimum recommended gap in a studio. (based on a 200 mm stud).

Product features and benefits:

SilentDirect Seal
Reduces structure-borne noise by damping vibrations in the stud frame.

SilentDirect Egg
Reduces sound reflections and absorbs sound inside the structure.

SilentDirect MLV
Effectively blocks airborne sound and increases the mass of the wall.

Result
The walls effectively absorb and block sound, creating a soundproof studio.

Selected articles

Soundproof a wall

Learn how to soundproof a wall.

Step 2: Soundproof the ceiling – Stop noise from above

Noise from upper floors and external sources can easily penetrate the studio. To effectively soundproof the ceiling and reduce both airborne and structure-borne noise, you need to follow a similar method to that used for wall insulation.

Step 2.1: Build a decoupled roof structure

To insulate the ceiling, you have three options:

Option 1 -  Attach a frame directly to the ceiling

- Use wooden or steel studs.

- Cover the entire top, bottom, and sides of the studs with SilentDirect Seal to minimize structure-borne noise and vibrations.

Option 2 - Build a decoupled, suspended ceiling

- Use wooden or steel studs.

- Place the entire ceiling structure at least 15 mm from the existing ceiling to create an insulating air gap and reduce vibration transmission.

Option 3 – Use vibration-damping fasteners or rails

- Install between the ceiling structure and the existing ceiling to minimize structure-borne noise.

Step 2.2: Fill the roof structure with SilentDirect Egg

- Install SilentDirect Egg inside the roof structure to absorb sound and reduce reflections.

- Place the panels close together for best effect.

Step 2.3: Install SilentDirect MLV on the underside of the studs

- Attach at least 1 layer of SilentDirect MLV to the underside of the studs where the plasterboards are to be installed.

- For better results, install 2–4 layers of MLV before screwing the plasterboard in place.

Step 2.4: Install plasterboard for extra sound insulation

- Minimum requirement: 2 layers of plasterboard or 1 layer of OSB/plywood + 1 layer of plasterboard.

- Optimal solution: 3–4 layers of plasterboard (each board reduces the sound level by approx. 3 decibels).

Step 2.5: Improve acoustics with SilentDirect PES Ceiling

- Install SilentDirect PES Ceiling or PES Ceiling Fabric to reduce reverberation and improve the acoustics in the studio.

- These are easily mounted on the ceiling using the brackets provided.

The air gap – an important factor in ceiling insulation

- The air gap should normally be 50 mm, but in a studio, a minimum of 150-300 mm is recommended, depending on the type of studio.

- Studs with a minimum depth of 200 mm are recommended.

- If SilentDirect Egg 50 mm is used inside the construction, the air gap will be 150 mm, which is the minimum recommended gap in a studio (based on 200 mm studs).

Product features and benefits:

SilentDirect Seal
Reduces structure-borne noise and vibrations between the ceiling structure and the existing ceiling.

SilentDirect Egg
Absorbs sound reflections and reduces reverberation.

SilentDirect MLV
Effectively blocks airborne sound and increases the ceiling's insulation capacity.

SilentDirect PES Ceiling and PES Ceiling Fabric
Reduces reverberation and improves the studio's sound environment.

Result
The ceiling insulates against external sound, absorbs reverberation, and improves the studio's acoustic properties.

Selected articles

Soundproofing a ceiling

Learn how to soundproof a ceiling Read more

Step 3: Soundproof the floor – Stop structure-borne noise and vibrations

Noise from the floor can be both structure-borne noise and airborne noise transmitted through the building's structure. To effectively soundproof the floor and create a quieter studio, a combination of sound-absorbing, vibration-damping, and dense materials is required.

Step 3.1: Prepare the floor and create a dense surface

- Ensure that the floor surface is even, clean, and dry before installing insulation material.

- Seal any cracks or gaps where sound can penetrate.

Step 3.2: Install SilentDirect MLV to block sound transmission

- Apply 1–2 layers of SilentDirect MLV directly to the floor to block airborne sound and reduce vibrations.

- For better results, install two layers with overlapping joints and glue them down with mounting adhesive for the best soundproofing.

Step 3.3: Lay SilentDirect Neo to dampen structure-borne sound and vibrations

- Place SilentDirect Neo 4 mm or 7 mm on top of SilentDirect MLV.

- The Neo material absorbs vibrations and reduces sound transmission through the floor structure.

- The thickness of SilentDirect Neo depends on the available space – the thicker the better.

Step 3.4: Finish with a stable floor layer for extra insulation

- Install 1 or 2 layers of floor plasterboard or floor chipboard on top of the Neo material.

- Optimal solution: Two layers of floor plasterboard or a combination of floor chipboard + floor plasterboard for maximum sound insulation.

- Each board contributes to reduced sound transmission, and double layers provide the best effect.

Step 3.5: Ensure that the floor is completely sealed

- Ensure that all joints are properly sealed with SilentDirect Seal or mounting adhesive to prevent sound leakage.

- Gaps around the floor should also be sealed, especially at wall transitions.

Product features and benefits:

SilentDirect MLV
Effectively blocks airborne sound and prevents sound transmission through the floor.

SilentDirect Neo
Dampens structure-borne sound and vibrations and reduces sound transmitted through the building structure.

Floor plaster/floor chips
Creates a stable and sound-absorbing surface that improves the floor's insulation capacity.

Result
The floor becomes stable, vibration-free, and effectively soundproofed, creating a quieter recording environment without structure-borne noise.

Selected articles

Soundproofing a floor

Learn how to soundproof a floor. Read more

Step 4: Soundproof doors – Minimize sound leakage

Doors are one of the biggest weak points in a studio's soundproofing, as they often have a lower density than the walls and contain air gaps where sound can easily leak out. For the best soundproofing in a studio, the most effective option is to install a double door system with a large air gap between the doors.

Step 4.1: Choose the right door construction

Option 1 – Double door system (best solution for studios)

- Install two solid soundproof doors with as large an air gap between them as possible.

- The air gap should be at least 150 mm, preferably 300 mm or more for optimal sound insulation.

- Ensure that the doors are mounted on separate frames to break sound transmission.

- Offsetting the doors sideways can further reduce sound leakage.

Option 2 – Single soundproof door

- If a double door system is not possible, choose an extra heavy and solid door, preferably a specially built soundproof studio version.

- The door should have a high density and be at least 45 mm thick.

- A door with built-in MLV and vibration damping provides extra insulation.

Step 4.2: Seal the door frame to eliminate sound leakage

- Apply SilentDirect Seal around the entire door frame to ensure a completely sealed connection.

- The sealing material should be flexible and have a high density to block both airborne and structure-borne sound.

- Ensure that there are no gaps between the door and frame when the door is closed.

Step 4.3: Install door bottom strips to seal gaps at the floor

- Install an automatic door bottom seal or a heavy-duty rubber strip that seals the gap under the door.

- In double door systems, both doors should have their own bottom strip for maximum sealing.

Product features and benefits:

Double door systems
- Creates an effective sound barrier by breaking up sound waves between the two doors.

- The air gap between the doors acts as an extra insulating zone.

SilentDirect Seal
Eliminates sound leakage in the door frame by blocking both airborne and structure-borne sound.

Door bottom strip
Prevents sound from entering or escaping through the gap at the floor.

Result

- A double door system with a large air gap creates a virtually soundproof door construction, which effectively blocks sound from leaving or entering the studio.

- A simple but well-insulated door in combination with sealing and a bottom strip can provide good sound reduction, although double door systems are superior.

Selected articles

Soundproof doors

Learn how to soundproof doors.

Step 5: Soundproof windows – Block external noise

Windows are one of the biggest weak points when it comes to soundproofing a studio. If the window is not properly constructed, it can let in a lot of noise from the surrounding environment, which affects the recording quality. The best solution is a double-glazed window system with a large air gap between the panes, but secondary glazing or soundproof windows can also be used. For extra damping, a mobile soundproofing panel can be built and installed as needed.

Step 5.1: Install secondary glazing or soundproof windows

Option 1 – Double-glazing system (best solution for studios)

- Install two separate panes of glass with at least a 150 mm air gap between them.

- The panes should be of different thicknesses (e.g., 6 mm and 10 mm) to block different frequencies of sound.

- One of the panes should be laminated, which reduces vibration and sound transmission.

- The air gap acts as a sound barrier and should be completely sealed.

Option 2 – Secondary glass (budget solution for better sound insulation)

- If you already have a window, you can install an extra layer of glass on the inside.

- The air gap between the existing window and the secondary glass should be at least 50 mm to be effective.

- The glass should be at least 6 mm thick and preferably laminated to reduce sound transmission.

Option 3 – Soundproof windows

If you are building a studio from scratch, you can choose specially designed soundproof windows.

These have a multi-layer construction and built-in sound insulation.

Windows with gas-filled interlayers (e.g., argon or krypton) provide additional sound reduction.

Step 5.2: Seal the window frames to reduce sound leakage

Regardless of which window solution you choose, it is crucial that the seal is perfect.

- Apply SilentDirect Seal around the entire window frame to eliminate sound leakage.

- Also seal any small gaps between the window and the wall.

- If the window can be opened, make sure all joints are tightly sealed with sealing strips.

Step 5.3: Build a mobile soundproofing panel for the window

A mobile soundproofing panel can be used to cover the window during recording and block out even more sound.

1. Build a sturdy wooden frame the same size as the window.

2. Install SilentDirect Polaric to block sound and vibrations.

3. Install SilentDirect Egg on the inside of the panel to absorb sound.

4. Attach SilentDirect Seal around the edges to ensure that the panel seals properly.

5. Attach the panel to the window with snap locks or hinges so that it can be removed if necessary.

Step 5.4: Use heavy, sound-absorbing curtains for extra damping

To further reduce sound transmission through the window, heavy curtains can be used.

- Choose multi-layer curtains with thick fabric.

- The curtains should ideally extend from floor to ceiling and cover the window completely.

- Combine with secondary glazing or soundproof windows for the best effect.

Product features and benefits:

Double window system
- Creates an effective sound barrier with an insulating air gap.

- Reduces both airborne and structure-borne noise.

Secondary glazing
Improves the sound insulation of existing windows.

SilentDirect Polaric (in the mobile panel)
Effectively blocks sound and vibrations.

SilentDirect Egg (in the mobile panel)
Absorbs sound reflections and reduces echo.

SilentDirect Seal
Seals window frames and reduces sound leakage.

Soundproof curtains
Complements window insulation by absorbing sound and reducing echo.

Results

- Double window systems create a soundproof studio with minimal sound leakage.

- Secondary glazing or soundproof windows can greatly improve sound insulation without replacing the entire window.

- A mobile soundproofing panel provides a flexible solution for quickly blocking sound during recording.

Selected articles

Soundproof windows

Learn how to soundproof windows. Read more

Step 6: Sealing all joints and penetrations

One of the most common mistakes in soundproofing is overlooking gaps, joints, and penetrations. Even small openings can significantly impair sound insulation, making sealing a crucial factor in the successful soundproofing of a studio.

Step 6.1: Use SilentDirect Seal sealing strips where possible

SilentDirect Seal is a vibration-damping sealing strip made of NBR rubber that prevents sound leakage through joints. The product is available in various widths and thicknesses – up to 50 mm wide and 6 mm thick, making it ideal for minimizing structure-borne noise and sealing larger gaps.

Self-adhesive backing – Easy installation without tools

SilentDirect Seal has a self-adhesive backing reinforced with environmentally friendly double-sided tape, making installation quick and easy.

How to install SilentDirect Seal:

1. Measure and cut the sealing strip to the correct length.

2. Remove the protective film from the self-adhesive backing.

3. Apply the sealing strip directly to the desired surface – no experience or advanced tools required.

4. Press the strip firmly to ensure a strong and durable bond.

SilentDirect Seal is used to seal:

- Between studs and walls – to prevent structure-borne noise and sound transmission.

- Around door and window frames – to create an effective seal.

- Between ceiling and floor structures – to prevent sound leakage.

Step 6.2: Seal smaller gaps and penetrations with sealing material

Where SilentDirect Seal cannot be used, such as in small joints, electrical outlets, ventilation openings, and joints between plasterboards, it is recommended to use a sealing material such as mounting adhesive or another soundproofing product instead.

Sealing is particularly important around:

- Electrical outlets and cable penetrations – sound can pass through these and create sound leakage.

- Ventilation openings – require both sealing and soundproofing to minimize sound transmission.

- Joints between plasterboards – must be properly sealed before the final cladding is applied.

How to seal smaller joints and penetrations:

1. Clean the surface to ensure that the sealant adheres properly.

2. Apply a sealant, such as construction adhesive, to the joint.

3. Smooth out the sealant and allow it to cure before installing additional materials.

Product features and benefits:

SilentDirect Seal (NBR rubber sealing strip with self-adhesive backing)

- Easy to apply – self-adhesive backing, no experience or tools required.

- Prevents structure-borne noise through vibration damping.

- Available in widths up to 50 mm and thicknesses up to 6 mm.

- Effective for sealing between studs, door frames, and larger joints.

Sealant (e.g., mounting adhesive or sealing product)

- Perfect for small joints and penetrations.

- Ensures airtight connections and reduces sound leakage.

- Easy to apply to electrical outlets, ventilation ducts, and plaster joints.

Result

- The studio becomes completely airtight – no unnecessary sound leakage through joints and penetrations.

- Prevents structure-borne noise – by minimizing vibrations and sound propagation in the structure.

- Professional sound environment – eliminates sound leakage and improves recording quality.

Did you know that..

A studio can be completely soundproofed but still sound bad? Many people believe that a thick, dense construction automatically provides perfect sound, but if the acoustics inside the room are not controlled, the sound can become trapped, unbalanced, and even worse than in a normal room.

The air gap between the walls is one of the most important parts of soundproofing. A common mistake is to just build thick walls, but without a decoupled structure with an air gap and vibration damping, sound can travel through walls and floors as if the room had never been insulated at all. SilentDirect Egg or Neo sound absorbers can improve the acoustics inside the room, but without the right insulation principles, sound will still get in and out.

A misplaced ventilation system can ruin the entire sound insulation! If air ducts run straight through the studio without sound traps, they act as "sound tunnels" where outside noise can sneak in. By using soundproofed ventilation ducts and sound traps, you can maintain airflow without compromising sound attenuation.

So next time you're thinking about soundproofing a studio, remember that it's not just about stopping sound, but about building a room where sound is controlled at all levels. The right balance between soundproofing and acoustic treatment is what creates the perfect sound environment!

Selected articles

Sealing is essential

Learn how to seal a room. Read more

Products that are good for soundproofing a studio

Soundproofing a studio involves preventing sound leakage and minimizing both airborne sound and structure-borne sound. To achieve the best possible sound insulation, a combination of dense sound barriers, vibration-damping materials, and a well-designed frame construction is required. Here we present our best products for creating a professionally soundproofed studio.

SilentDirect Polaric damping mat
SilentDirect Polaric is a heavy damping mat made from a butyl mix with a durable aluminum surface. It is used to seal surfaces and reduce sound transmission through vibrations in the structure. For studio insulation, SilentDirect Polaric can be applied to the inside of stud frames, on ceilings, walls, or in the floor structure to reduce resonance. By increasing the density of the structure and absorbing low-frequency vibrations, this damping mat helps to create a more effective sound barrier.

SilentDirect MLV
SilentDirect MLV (Mass Loaded Vinyl) is a heavy, flexible sound barrier used to reduce sound transmission through walls, floors, and ceilings. In studio environments, MLV is a key component that is placed between double stud constructions to block sound and create an effective barrier against both structure-borne and airborne sound. MLV works best when installed in multiple layers, either glued or screwed to the studs before the outer wall is covered with plasterboard or OSB boards. The product can also be used as an extra sound-insulating layer in floating floors and ceilings to further reduce sound leakage.

SilentDirect Egg
SilentDirect Egg is a high-density sound insulation product made of NBR rubber (nitrile rubber), specially developed for installation inside a stud frame in a studio. Unlike its traditional use as a sound absorber, SilentDirect Egg is used here to prevent resonances within the wall structure and reduce sound transmission between spacesby placing SilentDirect Egg between the studs before the walls are closed, a more effective sound barrier is created, as the high density of the material helps to dampen low-frequency vibrations and prevent sound from propagating through the structure.

SilentDirect Neo
SilentDirect Neo is a flat, heavy sound-insulating mat made of high-density NBR rubber, perfect for dampening vibrations and reducing sound transmission in floor structures and between surfaces in the studionbsp;SilentDirect Neo works best as an insulating layer between the floating floor and the underlying structure, effectively reducing structure-borne noise and vibrations. The product is also ideal for use between two surfaces where vibration transmission needs to be reduced, for example between a wall and a freestanding sound barrier.

SilentDirect Seal sealing strip
SilentDirect Seal is a flexible sealing strip made of nitrile rubber (NBR) and is used to seal joints and penetrations in the studio construction. To ensure a completely soundproof studio, it is important to eliminate sound leakage at doors, windows, and ventilation openings, and this is where SilentDirect Seal plays a crucial roleapplying SilentDirect Seal along door frames, window edges, and other penetrations creates an airtight seal that effectively prevents sound leakage and improves overall insulation.

SilentDirect Dampio
SilentDirect Dampio are vibration-damping panels designed to reduce high-frequency vibrations in studio floors, walls, and ceilings. By placing Dampio under the floating floor or at critical contact points along the wall structure, resonances and vibrations can be significantly reduced. Dampio is particularly effective in studios where structure-borne noise can be a problem, such as in apartment buildings or buildings with thin structures.

*Free shipping

Free shipping to agent

5-year warranty

5-year product warranty

Fast delivery

Usually ships the same day

How to soundproof a studio – A complete guide to professional sound control

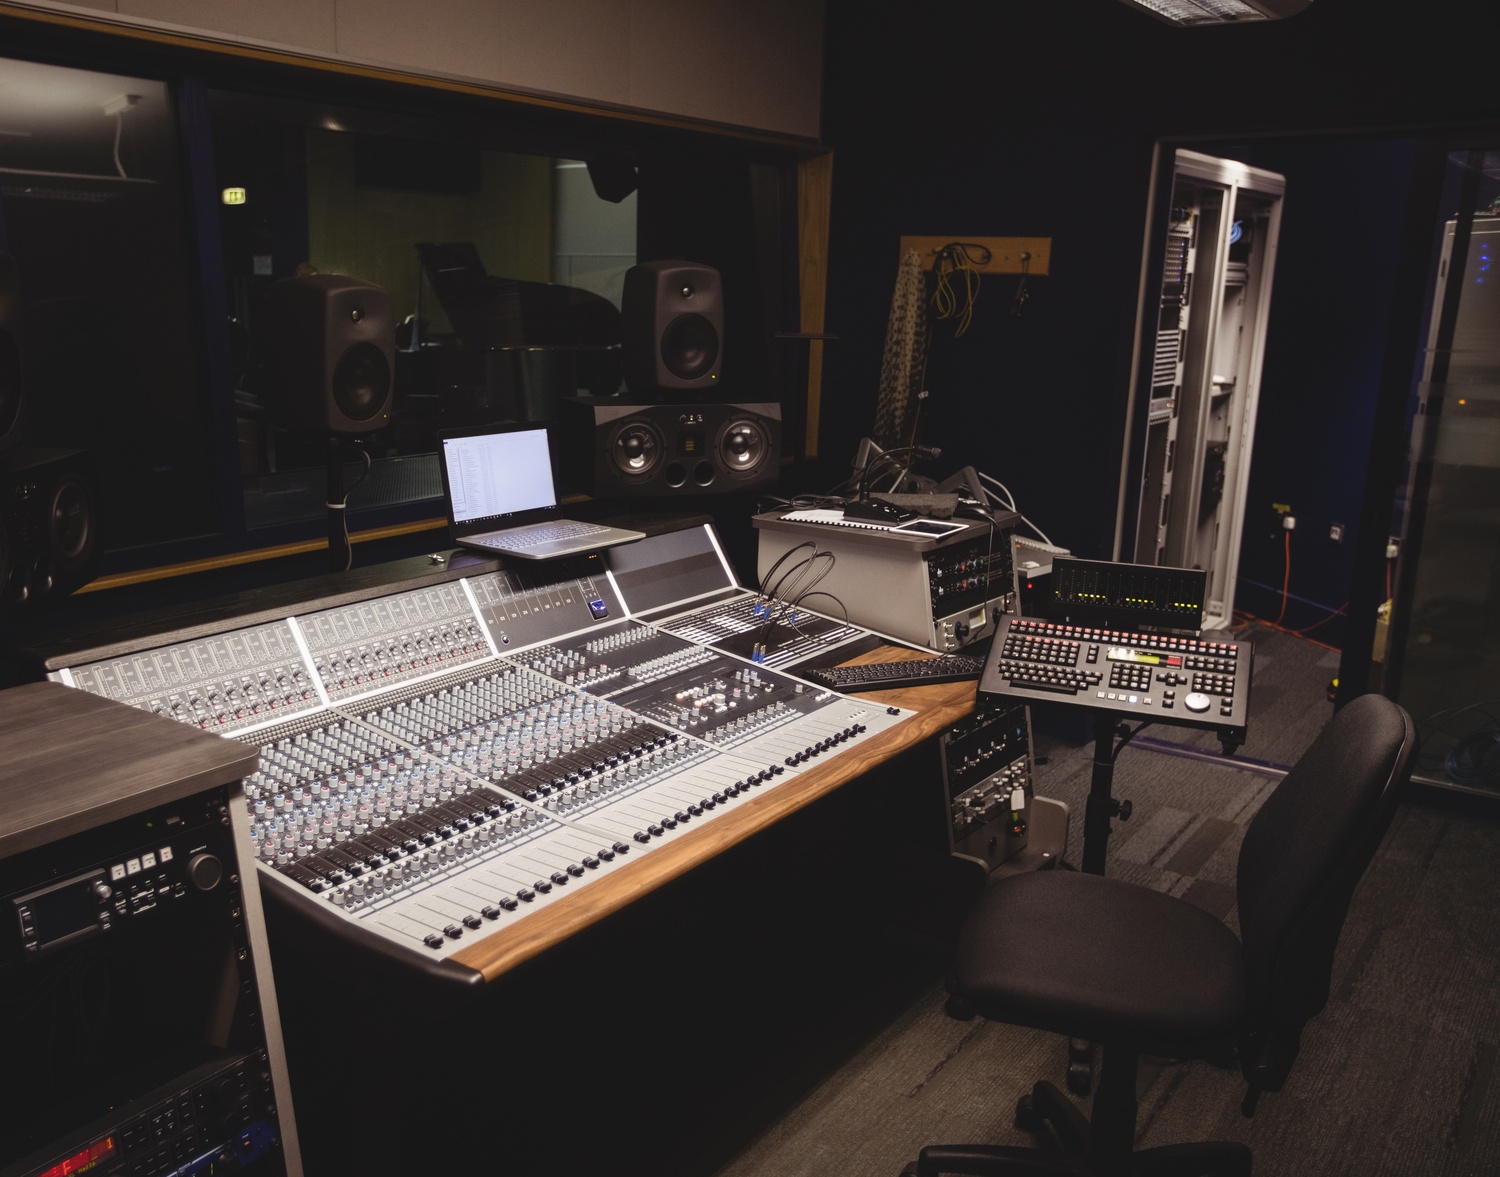
Soundproofing a studio is a critical process for creating a recording environment that is free from outside noise while minimizing sound leakage to the surrounding area. A well-insulated studio ensures clean sound reproduction, better mixing, and recording without external noise affecting the result.

Unlike sound absorption, which aims to reduce reverberation and optimize the acoustics of the room, soundproofing is about creating a dense barrier that prevents sound transmission through walls, floors, ceilings, doors, and windows.

Why is soundproofing a studio important?

Sound travels through vibrations, and if a studio is not properly soundproofed, external sounds such as traffic noise, voices, or other background noise can penetrate. At the same time, high noise levels from inside the studio can spread to adjacent spaces and disturb the surrounding area.

A studio that lacks soundproofing can lead to:

- Unclear sound recording, where external sounds leak into the microphone.

- Poor mixing conditions, where outside noise affects the perception of frequencies.

- Disturbances in the surrounding area, especially when recording loud music or speech.

Solving these problems requires the right materials, construction techniques, and careful planning.

Summary – How to soundproof a studio

Creating a professional studio requires a combination of soundproofing measures to block sound in and out.

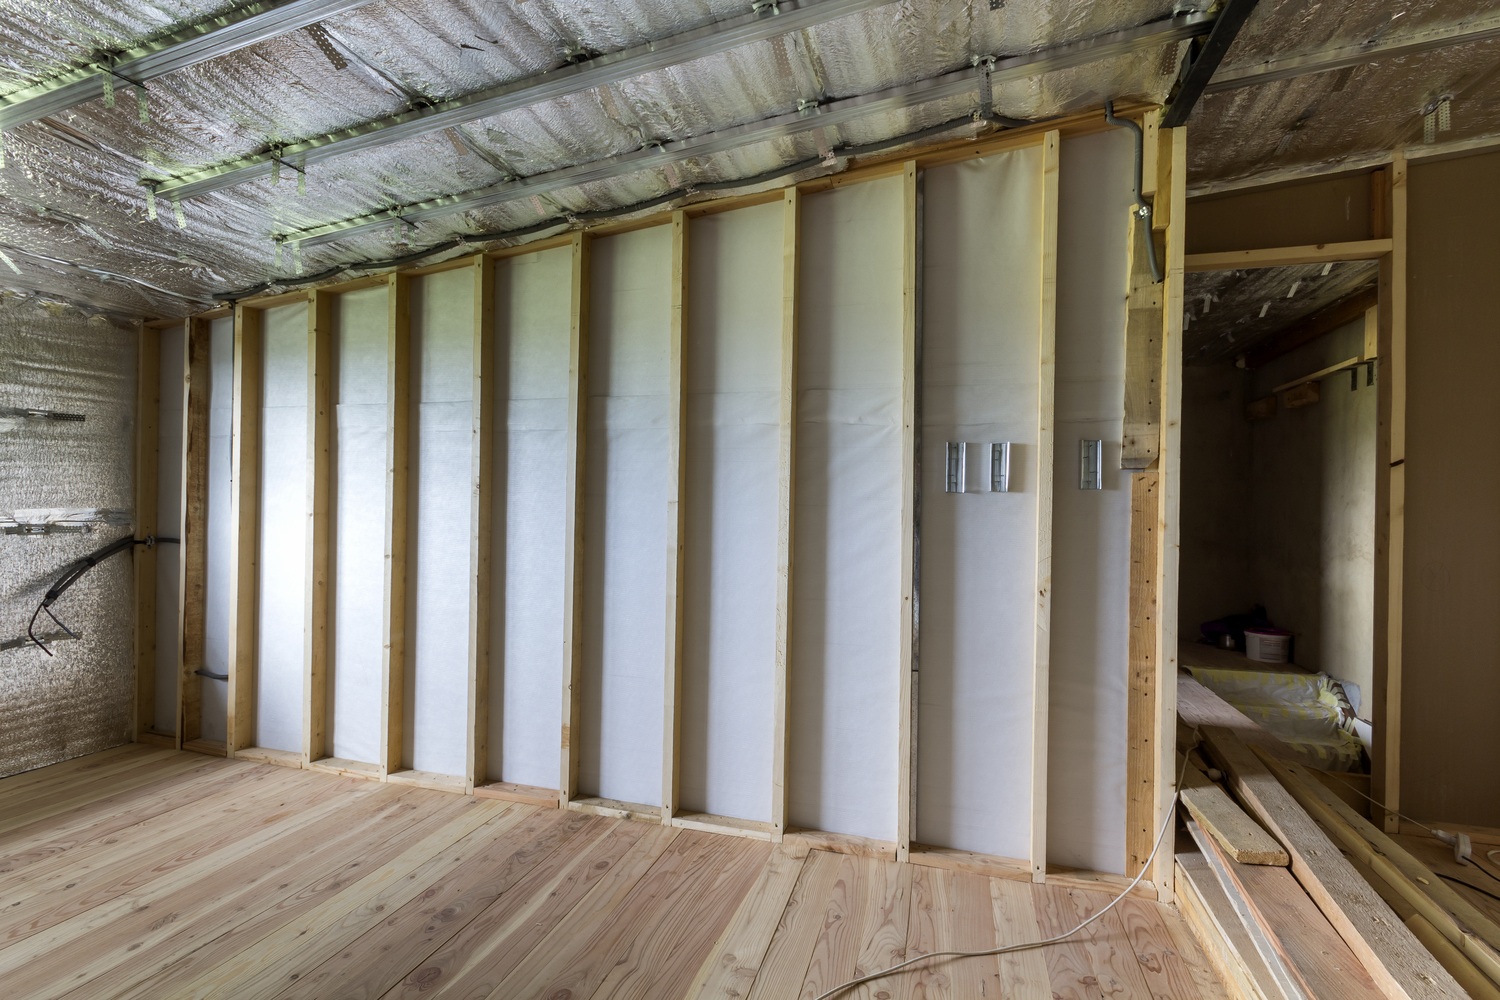
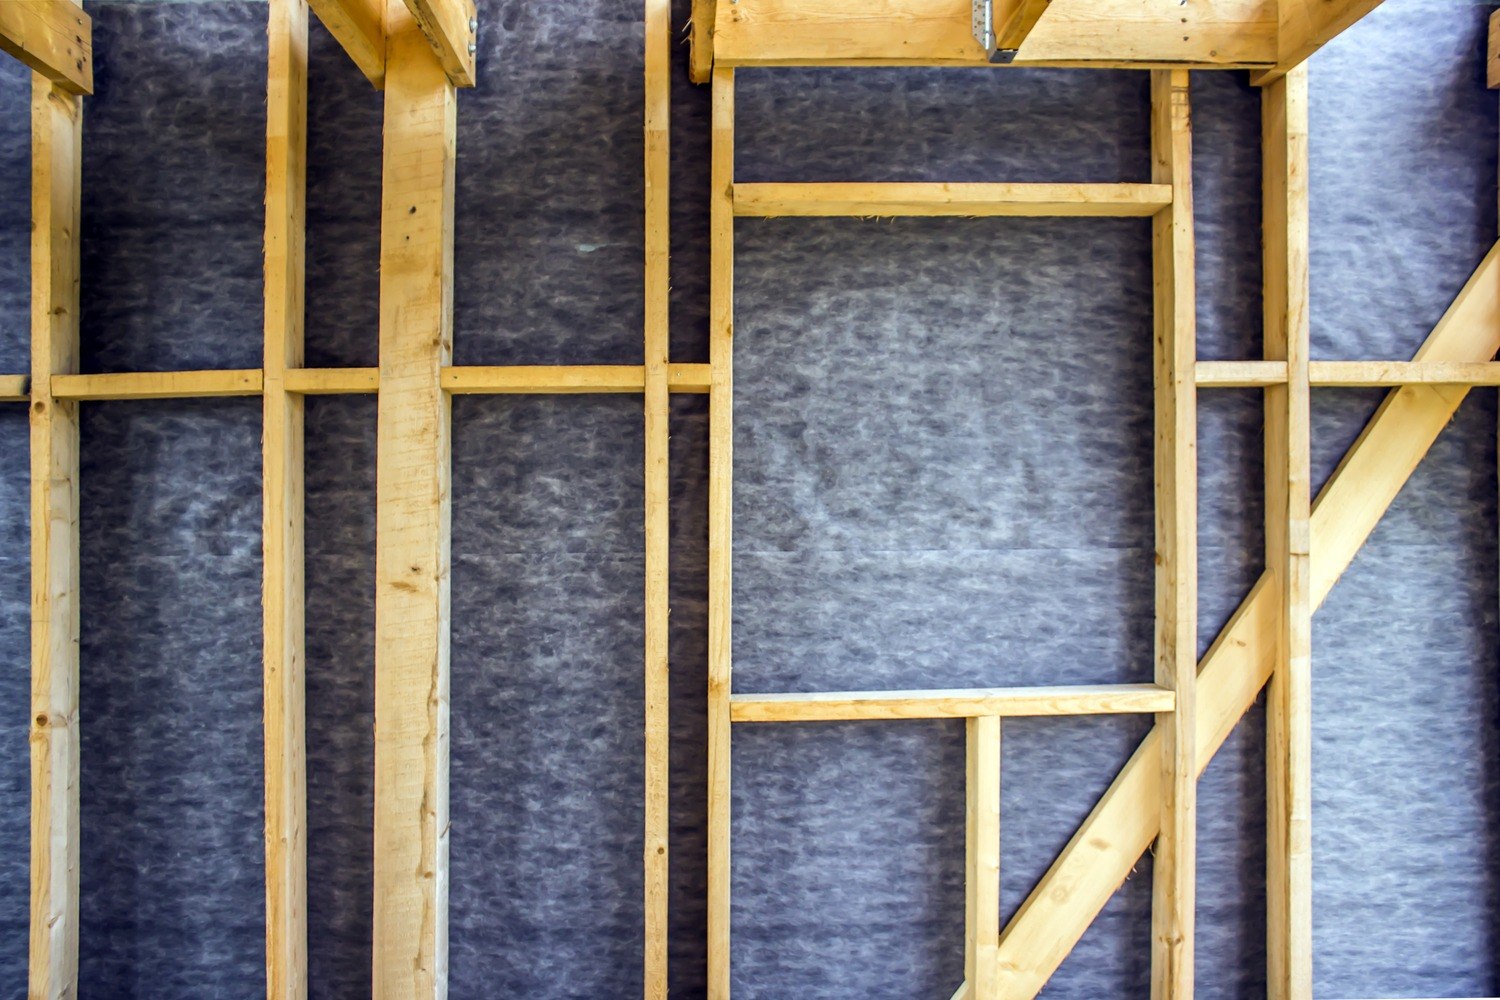
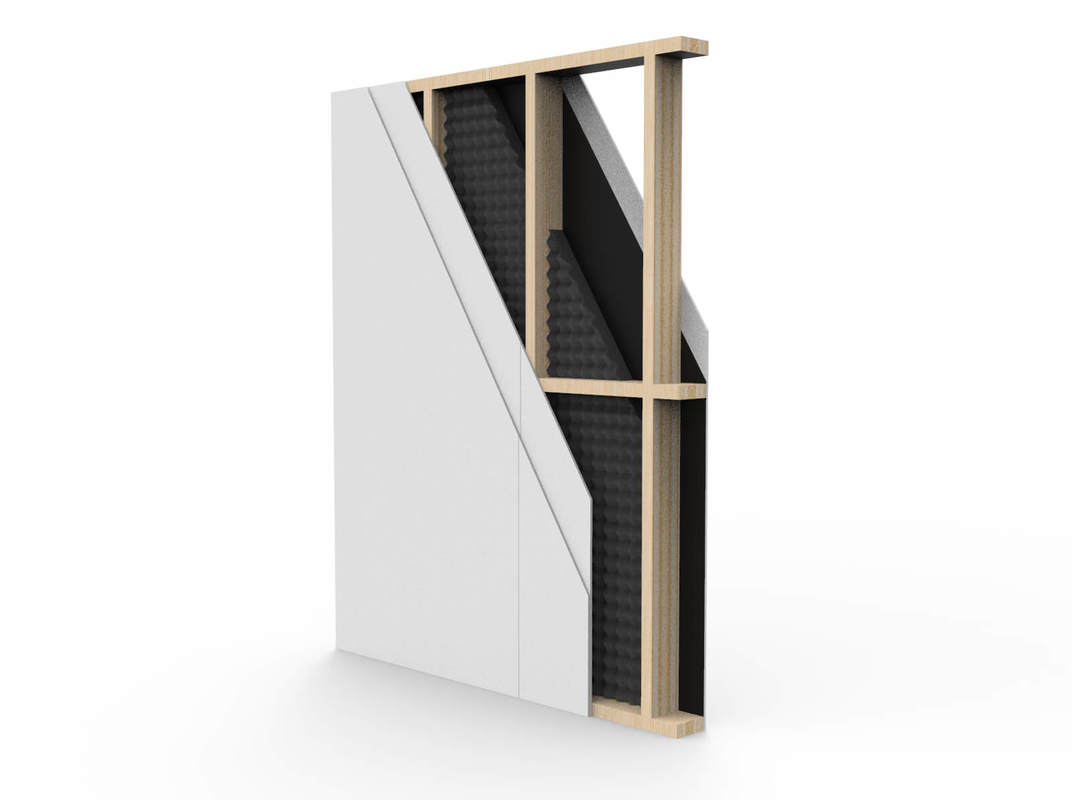
- Build sturdy walls with soundproofing panels and air gaps.

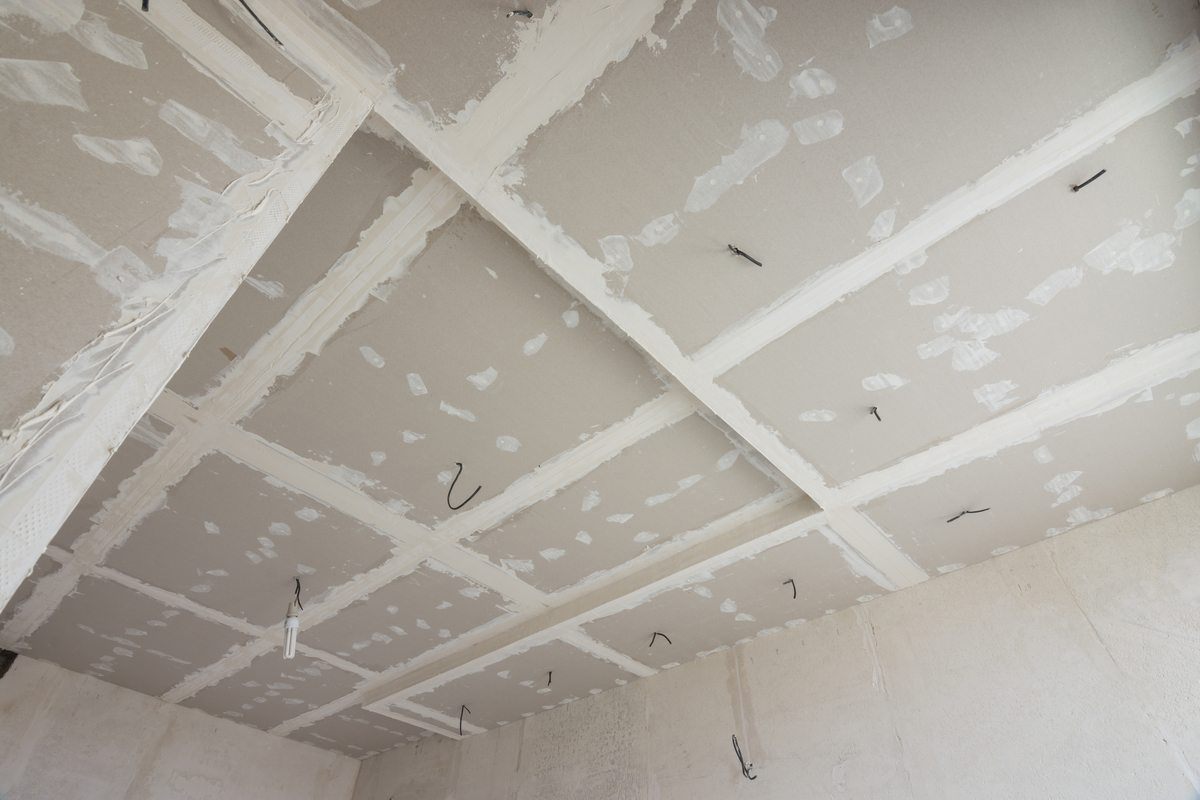
- Insulate the ceiling with vibration-damping suspensions and sound-absorbing materials.

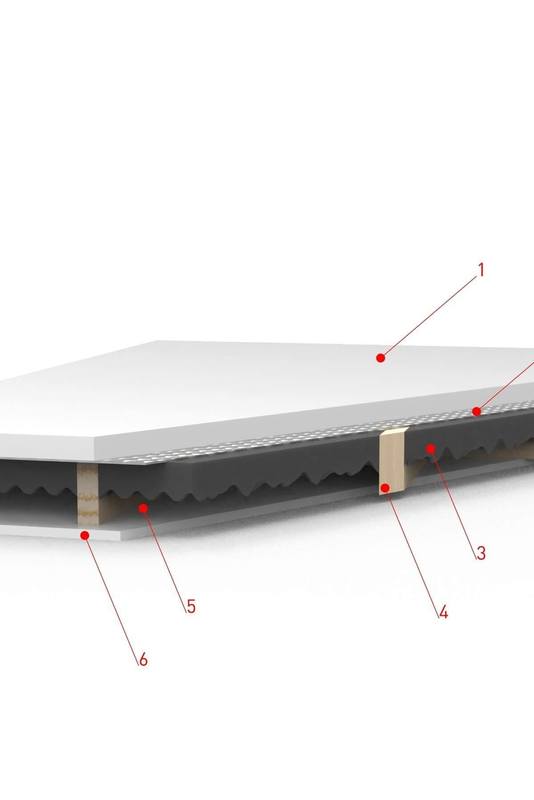
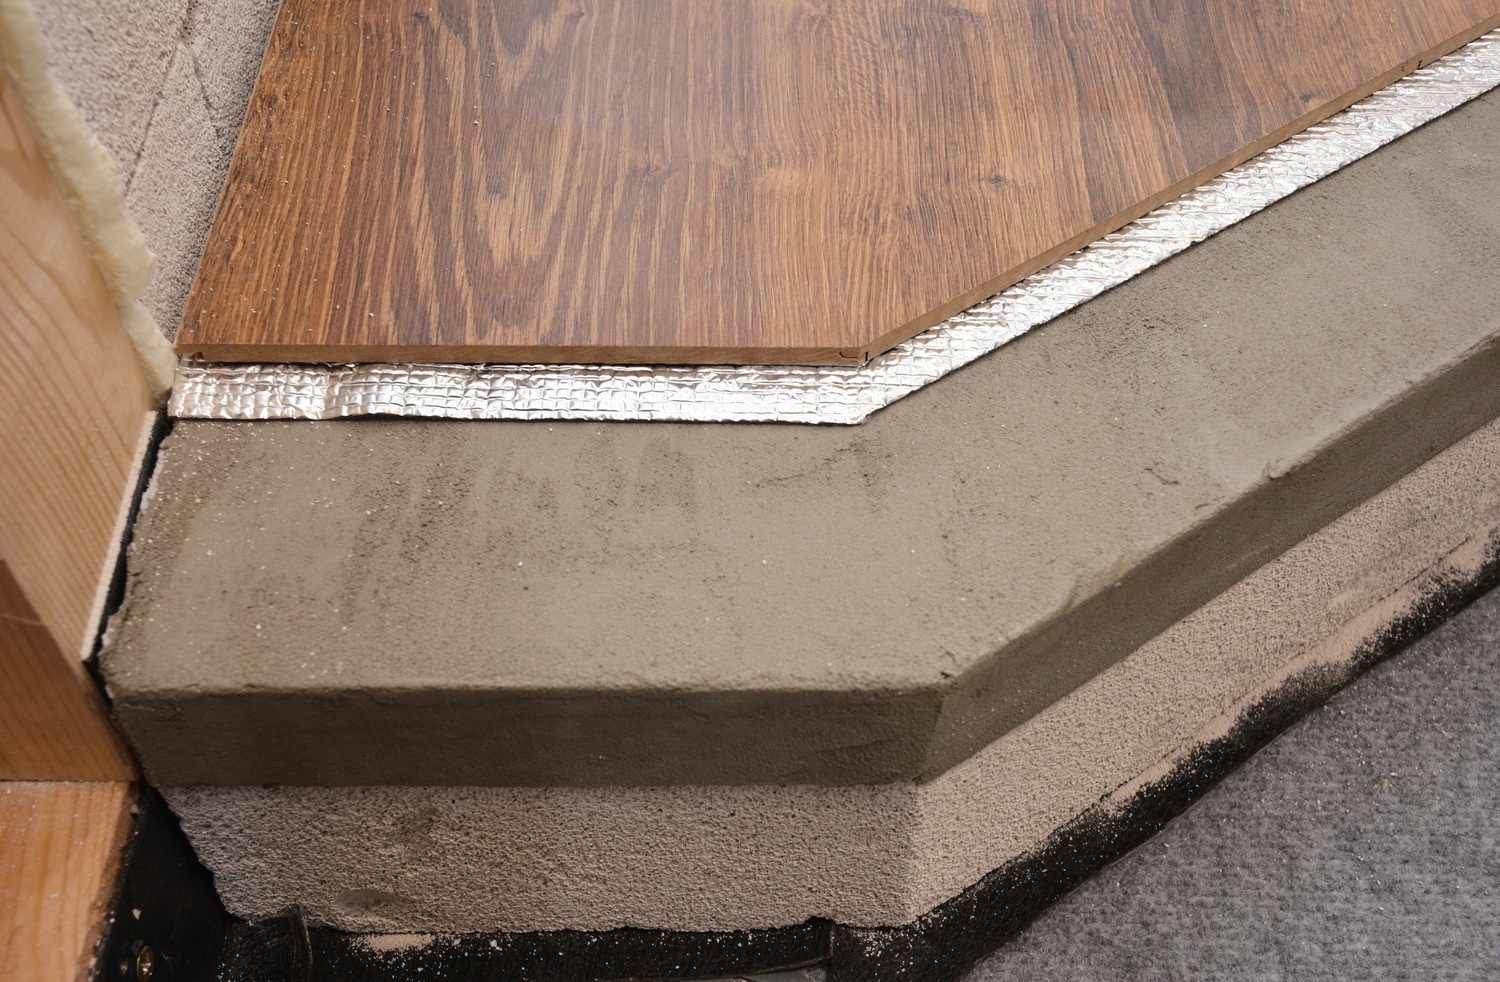
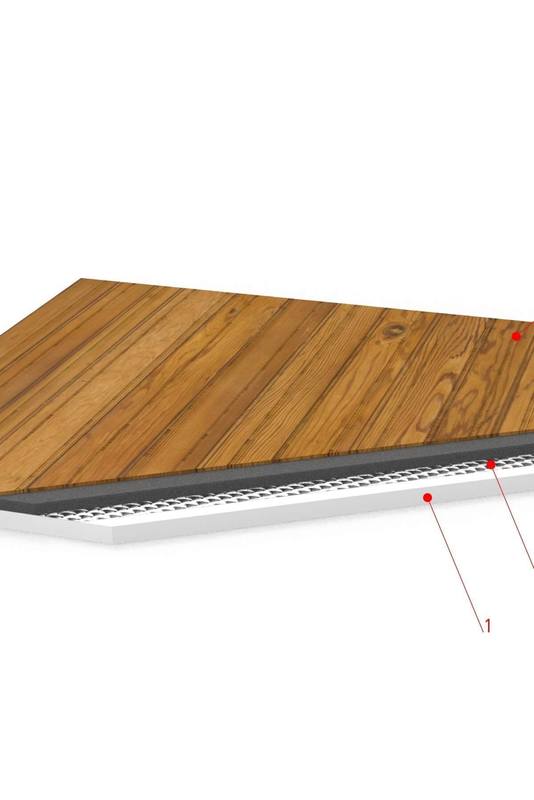
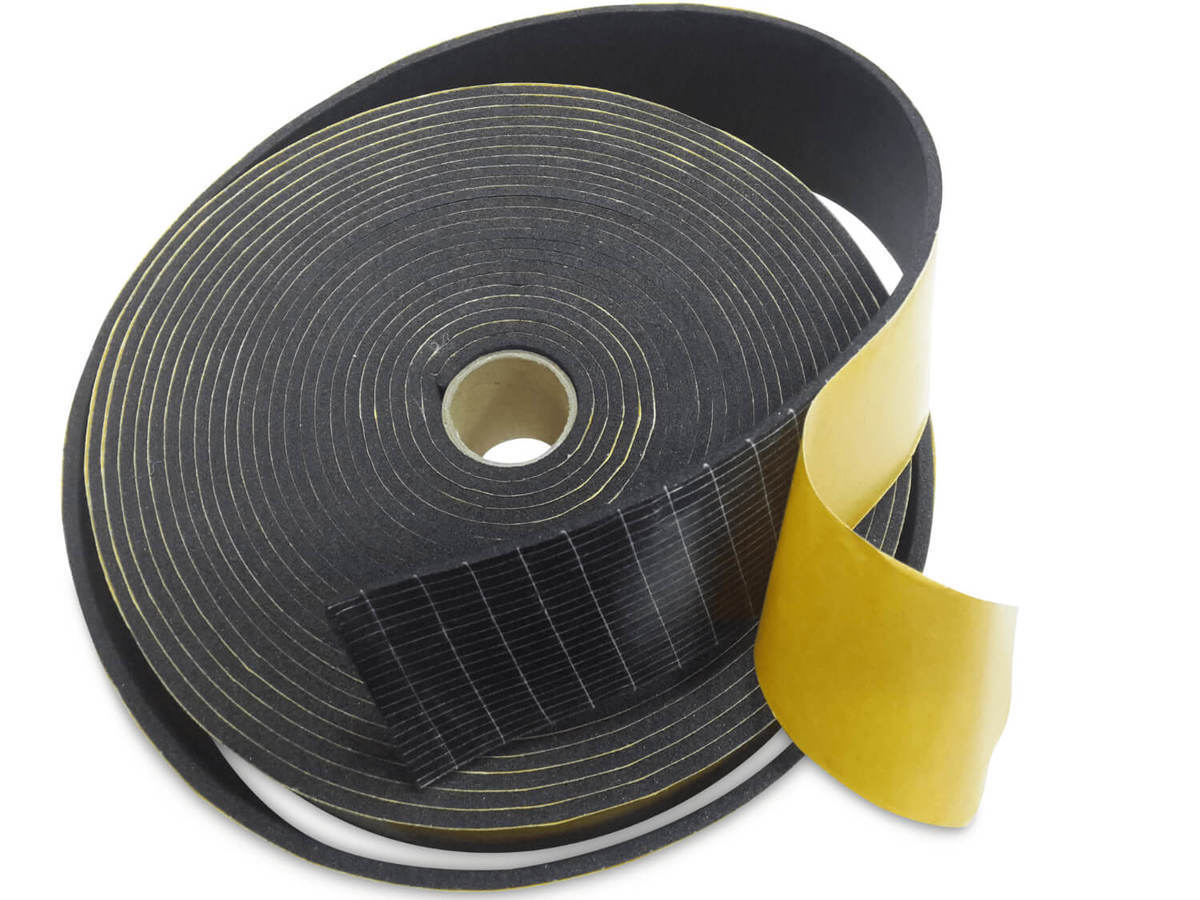
- Minimize structure-borne noise by using a floating floor and damping mats.

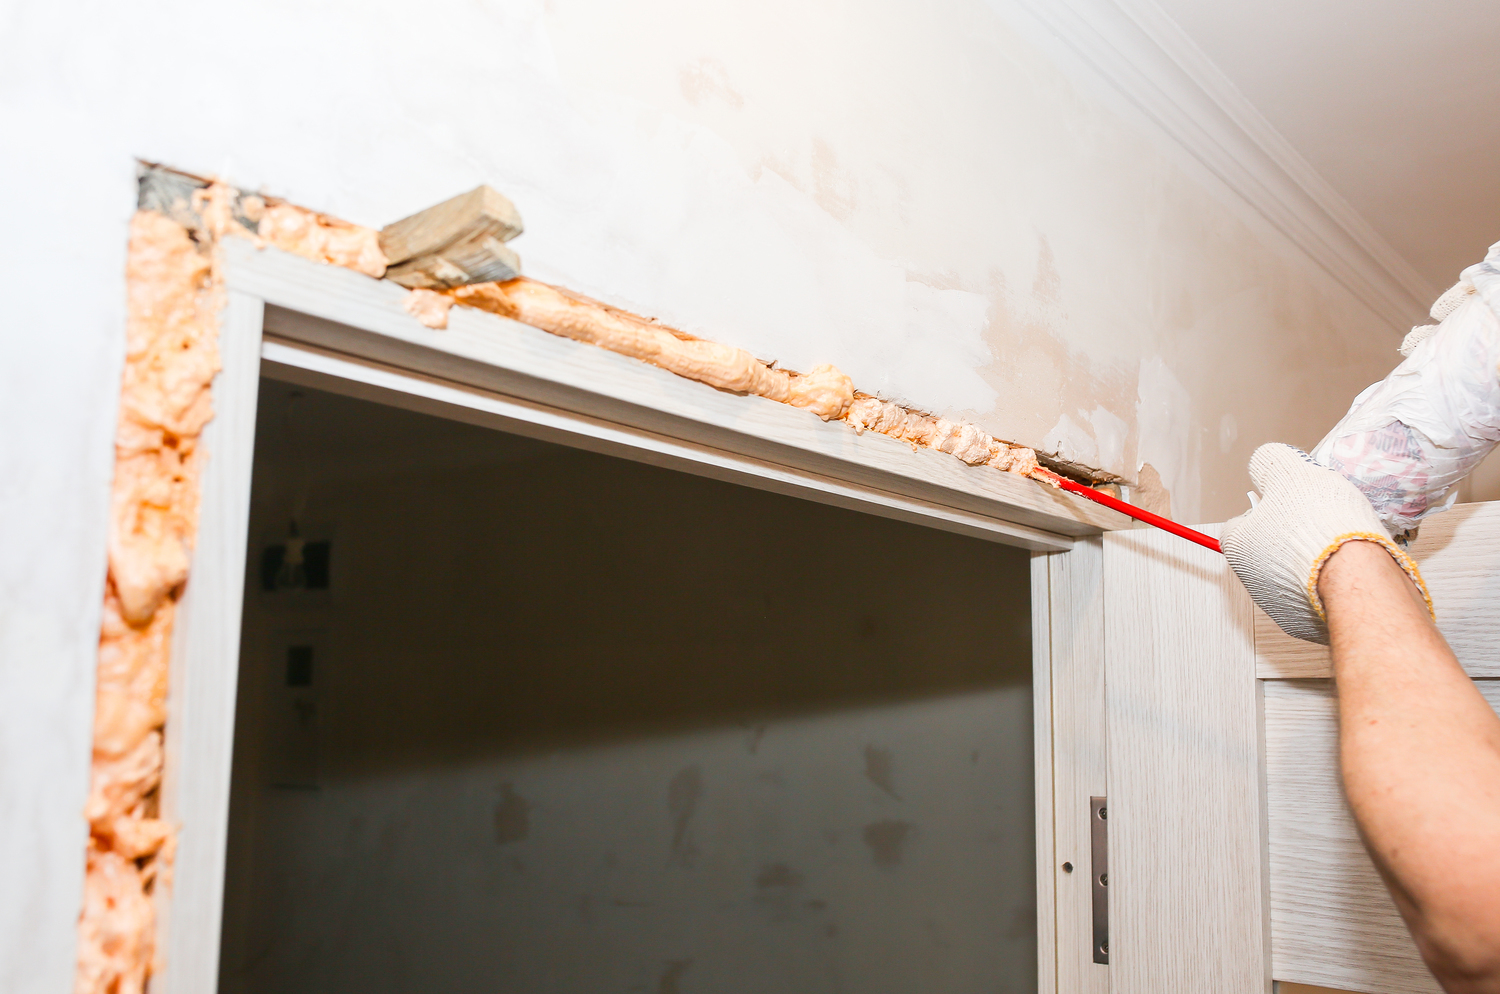
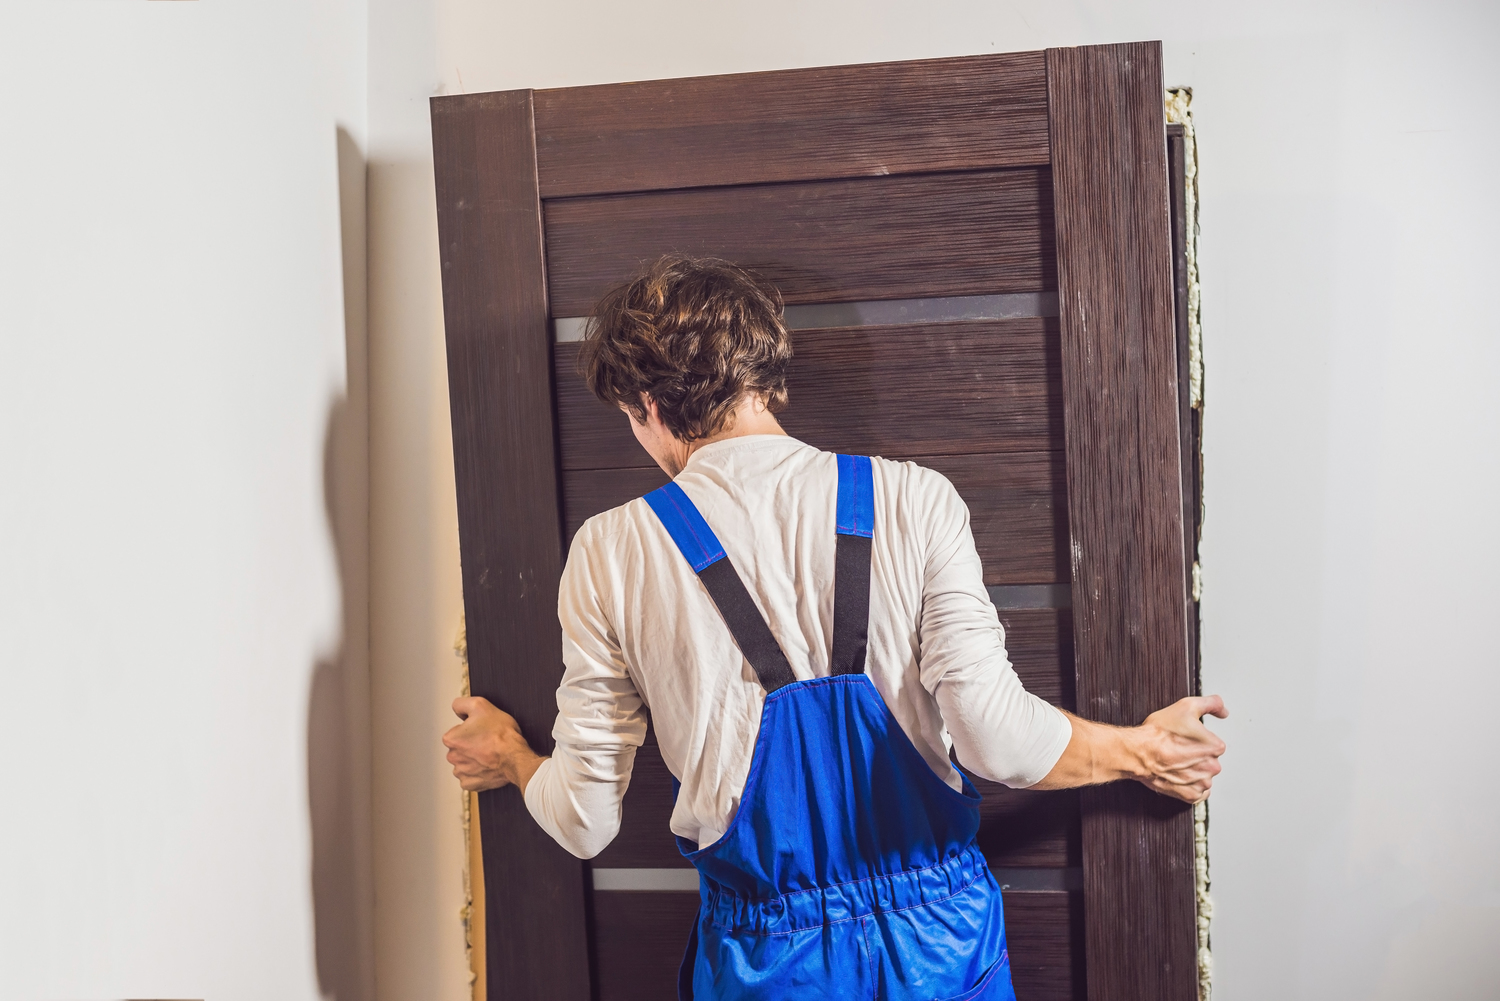
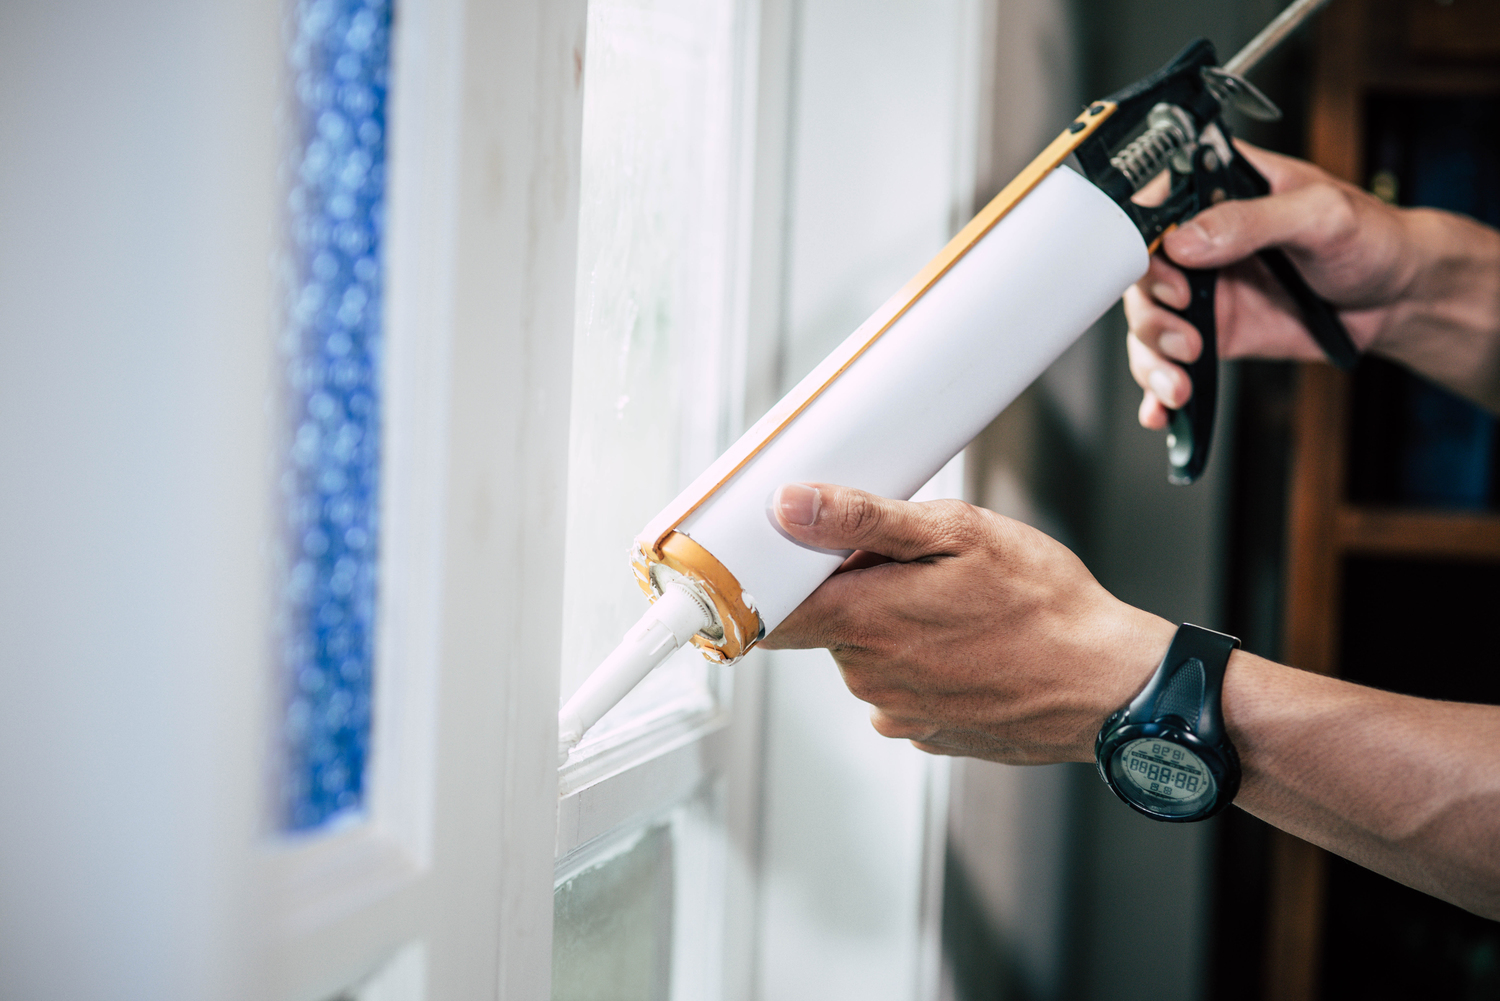
- Ensure that doors and windows are properly sealed with soundproofing materials.

- Secure ventilation with sound-absorbing ducts and quiet fans.

By combining these methods, you can create a soundproof studio that provides professional recording quality and an optimal working environment for music production, podcasting, or other audio projects.